Showing posts with label carving. Show all posts

Monday, December 3, 2012

Soap Carving and a Collaborative Totem Pole

In my Tribal Art of North America class, we were able to do a fun technique that the students always enjoy: soap carving. I've done soap carving with my students before when I taught Inuit carvings (see my original  post here). This time, I thought the children could carve the soap and work together to make a totem pole.


The completed Totem Pole--each of the students
created a section (one animal). I placed them on
a background that looked like sky just to snap the picture.

I found a great handout online about totem poles. It gave some background information as well as great images of some typical animals that appear on totem poles along with a description about the symbolism of each animal. The children chose one of the animals to replicate in soap and began carving with their tools: a vegetable peeler, plastic spoon and a toothpick. Features such as beaks, tongues and wings that protruded far away from the main carving were added later using craft foam. I had a sheet of white craft foam on hand for these "extras," but encouraged the children to do most of their carving in the soap.

Detail of the BEAR (symbol of power on the earth).
The tongue is made with a bit of craft foam.

Once the children were done carving their individual totem animals, we put them together into one totem pole and I snapped a picture. The children took their individual pieces of the totem pole home, but before they left, they had enough time to create a second carving of their choosing that was more like the Inuit. We had a great discussion of how different their two sculptures were: the totem was more of a shallow carving meant to be viewed from a very limited radius, but the Inuit-inspired carving was meant to be held and seen from all angles. The carving was much more intense on the Inuit piece in that they had to think about removing the excess and accurately carving their animal on a variety of planes.

And here's one of the Inuit carvings: a polar bear.
These soap carvings are hard to take pictures of
with my camera--sorry they are blurry!
The children did a great job! ENJOY!


Thursday, March 8, 2012

Oaxacan Papier Maché Snakes

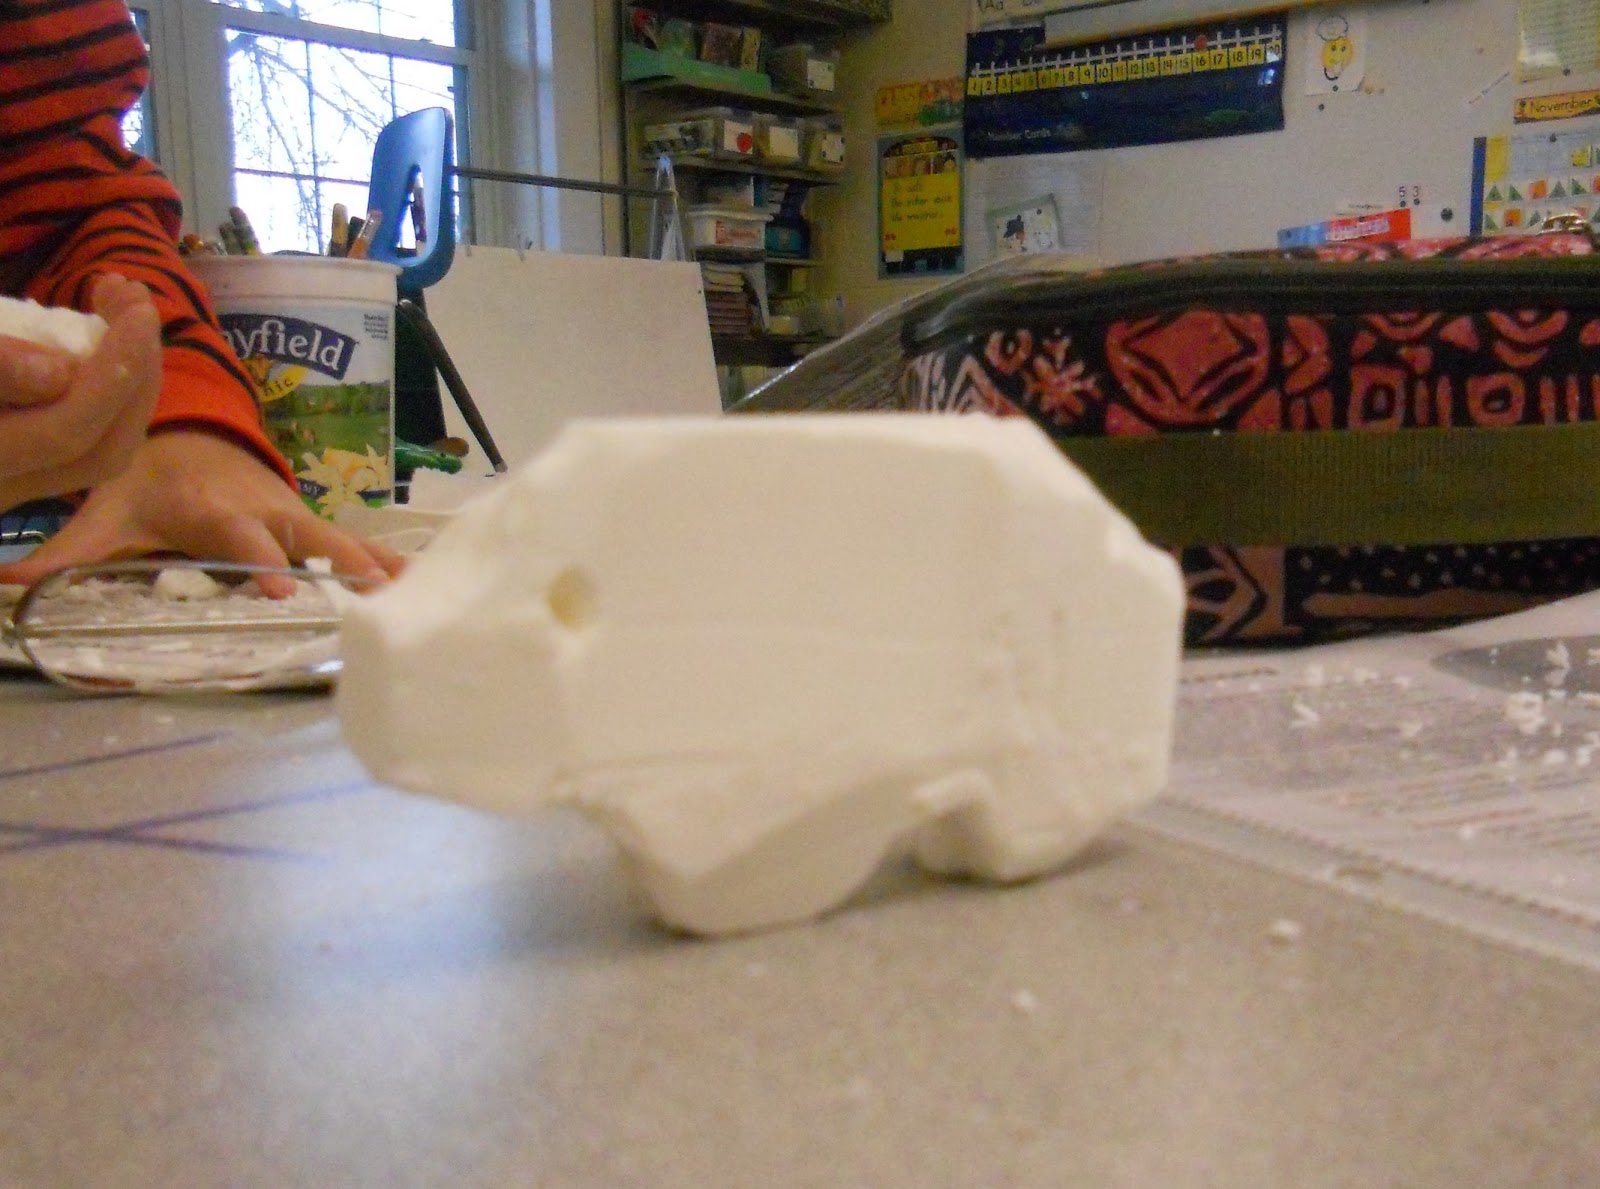
I love papier maché, even though it is messy! Many children seem to love it as well (although there are a few who don't like the goopy paste on their hands!). In my Art Around the World 2 Class, we studied the art of Mexico and I had the children make snakes from papier maché and decorate them in the style of Oaxacan woodcarvings. So beautiful!


Beautiful colors and patterning!

About traditional Oaxacan carvings:
The folk art carvings from the state Oaxaca (pronounced wa-HAH-ka) in Mexico are colorful and unique and steeped in generations of tradition. Carved entirely by hand from copal wood, each piece is then uniquely painted with bright colors and patterns. Carvings can include figures such as mermaids, saints and everyday people or any sort of animal, both real or imaginary.

While this art form is centuries old, it is thought that one carver, Manuel Jiminez popularized the style that we see today. There are many great artists in Oaxaca and their carvings have become so popular they can be seen in museums and private collections from around the world!

This project idea came from the book "A Survival Kit for Elementary & Middle School Teachers," by Helen D. Hume. I have mentioned this book before. The projects are for upper elementary school students and each project has a "teacher page" and a "student page." The original lesson encouraged students to make whatever animal they wanted (there were size parameters), but I wanted to keep the lesson somewhat under control since this was the first time my students would be doing papier maché.

I was able to show them images from two wonderful books: "Oaxacan Woodcarving: The Magic in the Trees," by Shepard Barbash and the children's book, "Dream Carver" by Diana Cohn. Both of these books are wonderful and full of a variety of images that will get student's creative juices flowing! The book by Barbash does contain figures with some cartoon nudity so may not be appropriate for all ages.

Oaxacan Snakes

Supplies Needed:
  • Aluminum foil
  • Ripped up pieces of newspaper
  • Papier maché paste (recipe to follow)
  • Waxed paper sheets
  • White tempera paint
  • Elmer's glue
  • Paint brushes
  • Water containers & paper towels
  • Acrylic paints
Directions:

1. Mix up a batch of papier maché paste:

Papier Maché Paste
(from the book "The Little Hands Art Book" by Judy Press)

3 cups cold water
1 1/2 cups flour
oil of peppermint (optional)

In a heavy saucepan combine the flour and water.
Cook over low heat until the mixture thickens to
a creamy paste. Cool and then stir in a couple
drops of oil of peppermint to act as a preservative.
(I didn't, but I used the paste right away).

2. I gave each child two pieces of aluminum foil about 3 feet long. I had them lay their pieces on top of one another, so that there was a double thickness of foil 3" long. I then had them twist and bend the foil into the shape of a snake. We discussed different positions a snake could be in: straight, zig zig, ready to strike, curled up in its nest, etc.

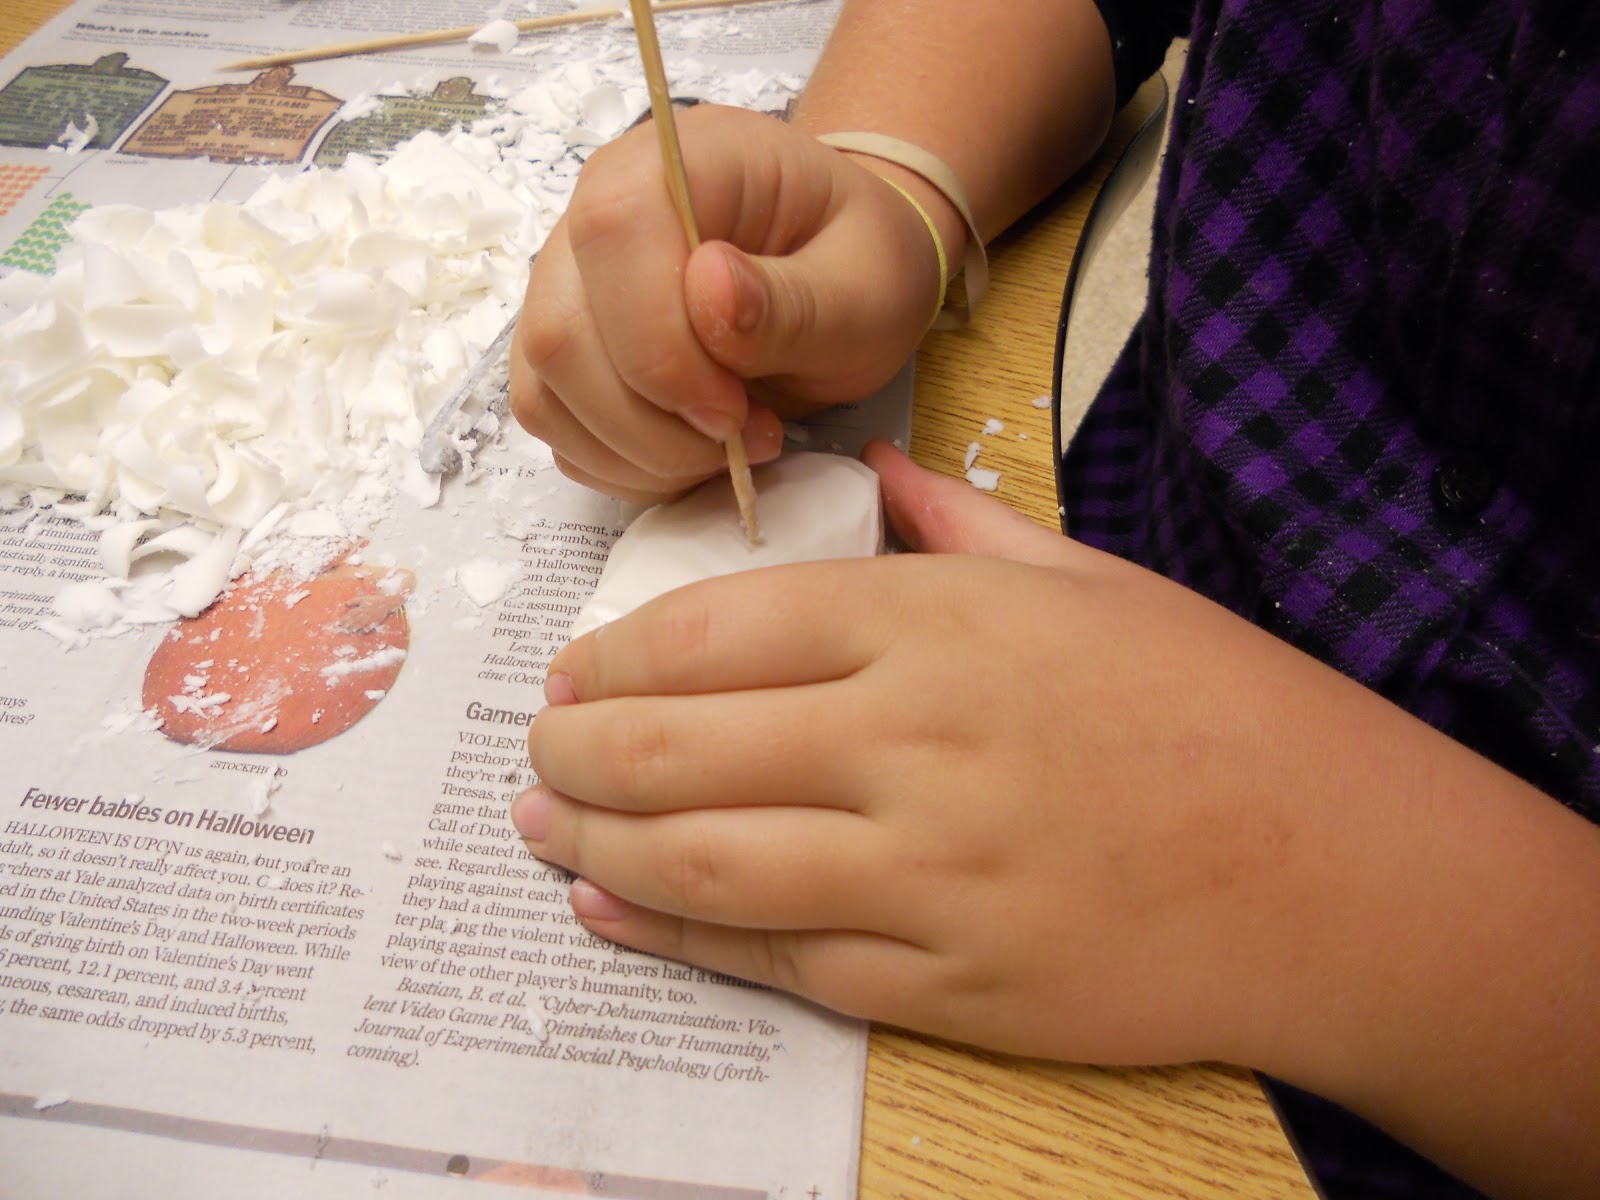
3. Take a newspaper piece and dip it into the paste. Use your fingers to squeegie the excess paste from the newspaper and then lay it onto the foil snake form. Repeat until the entire snake form is covered with a nice layer of newspaper. Let dry on waxed paper (this can take a day or so).

4. Apply another layer of newspaper and paste. Let dry on waxed paper (this can take another day or so).

5. When your second layer of newspaper and paste is completely dry, mix one part Elmer's glue with one part white tempera paint to make a gesso or base coat that will cover the ink on the newspaper and make a nice surface for you to paint on. Paint on a coat of the homemade gesso and let dry thoroughly (a couple hours).

*If you don't want to use homemade gesso, you could paint a coat of white acrylic paint or just paint on a couple coats of whatever paint you are using.

6. Decide how you want to paint your snake and begin by dividing it into sections and painting the base coat of each section.

7. When the main colors of your sections are dry, you can add a second coat if needed. Then use Q-tips, small paint brushes and/or the wooden end of a paintbrush to dab dots and paint lines and patterns onto your snake in true Oaxacan style! The sky is the limit with your designs. Have fun and be creative!


Thursday, December 8, 2011

Inuit Soap Carvings

I have been wanting to try this project for a long time! In my "Art Around the World" class we have a little extra time, so I thought it would be the perfect class to try an introduction to carving using soap and simple tools. I originally saw this project in the book "A Survival Kit for the Elementary/Middle School Art Teacher, " by Helen Hume. This is a wonderful book that has a number of great projects. I like how her projects have a "Teacher Page" with background info and alternative lesson plans as well as a "Student Page" that you could photocopy and hand to students to refer to as they work their way through the project.
Polar Bear, looking up.

I started class by flipping through the book "The Inuit: Ivory Carvers of the Far North," by Rachel A. Koestler-Grack. This book is full of great information and images that aided in my giving a brief background on the Inuit people and their beautiful carvings.

I then gave each student a copy of the Inuit Bear Carving Lesson plan from Dick Blick Art Supplies. That lesson is intended to be done by carving a foam block, but the diagrams easily translate to a bar of soap. The handout shows, step-by-step, how the child should carve the block to create a lovely 3D representation of a bear.

I really do encourage you to try this project with your child. It's wonderful to see them working and planning as they carve the soap away! Enjoy!

Supplies Needed:

  • Bar of soap (I used plain Ivory)
  • Newspaper (for working on and collecting soap chips)
  • Skewer or toothpick
  • Potato peeler, plastic knife and spoon
  • Plastic kitchen scrubber
  • Handout from www.dickblick.com (optional, but helpful)
Directions:

If you are creating a polar bear, you can follow the handout from Dick Blick. Some of my students decided to create turtles since I had brought in a carving of a turtle. I had them work from the figure and I walked them through carving the piece. 

I think older students could design their own carvings, but younger students or first-timers may have more success if they work from a plan. Or, if your student is comfortable "winging it," let them go for it and see what animal emerges from their carving!

Carving the rough shape of the turtle with a vegetable peeler.

Adding the final details with the point of a skewer.


Another Polar Bear!

And a cute little turtle!

Related Posts Plugin for WordPress, Blogger...