Showing posts with label bone. Show all posts

Thursday, December 8, 2011

Inuit Soap Carvings

I have been wanting to try this project for a long time! In my "Art Around the World" class we have a little extra time, so I thought it would be the perfect class to try an introduction to carving using soap and simple tools. I originally saw this project in the book "A Survival Kit for the Elementary/Middle School Art Teacher, " by Helen Hume. This is a wonderful book that has a number of great projects. I like how her projects have a "Teacher Page" with background info and alternative lesson plans as well as a "Student Page" that you could photocopy and hand to students to refer to as they work their way through the project.
Polar Bear, looking up.

I started class by flipping through the book "The Inuit: Ivory Carvers of the Far North," by Rachel A. Koestler-Grack. This book is full of great information and images that aided in my giving a brief background on the Inuit people and their beautiful carvings.

I then gave each student a copy of the Inuit Bear Carving Lesson plan from Dick Blick Art Supplies. That lesson is intended to be done by carving a foam block, but the diagrams easily translate to a bar of soap. The handout shows, step-by-step, how the child should carve the block to create a lovely 3D representation of a bear.

I really do encourage you to try this project with your child. It's wonderful to see them working and planning as they carve the soap away! Enjoy!

Supplies Needed:

  • Bar of soap (I used plain Ivory)
  • Newspaper (for working on and collecting soap chips)
  • Skewer or toothpick
  • Potato peeler, plastic knife and spoon
  • Plastic kitchen scrubber
  • Handout from www.dickblick.com (optional, but helpful)
Directions:

If you are creating a polar bear, you can follow the handout from Dick Blick. Some of my students decided to create turtles since I had brought in a carving of a turtle. I had them work from the figure and I walked them through carving the piece. 

I think older students could design their own carvings, but younger students or first-timers may have more success if they work from a plan. Or, if your student is comfortable "winging it," let them go for it and see what animal emerges from their carving!

Carving the rough shape of the turtle with a vegetable peeler.

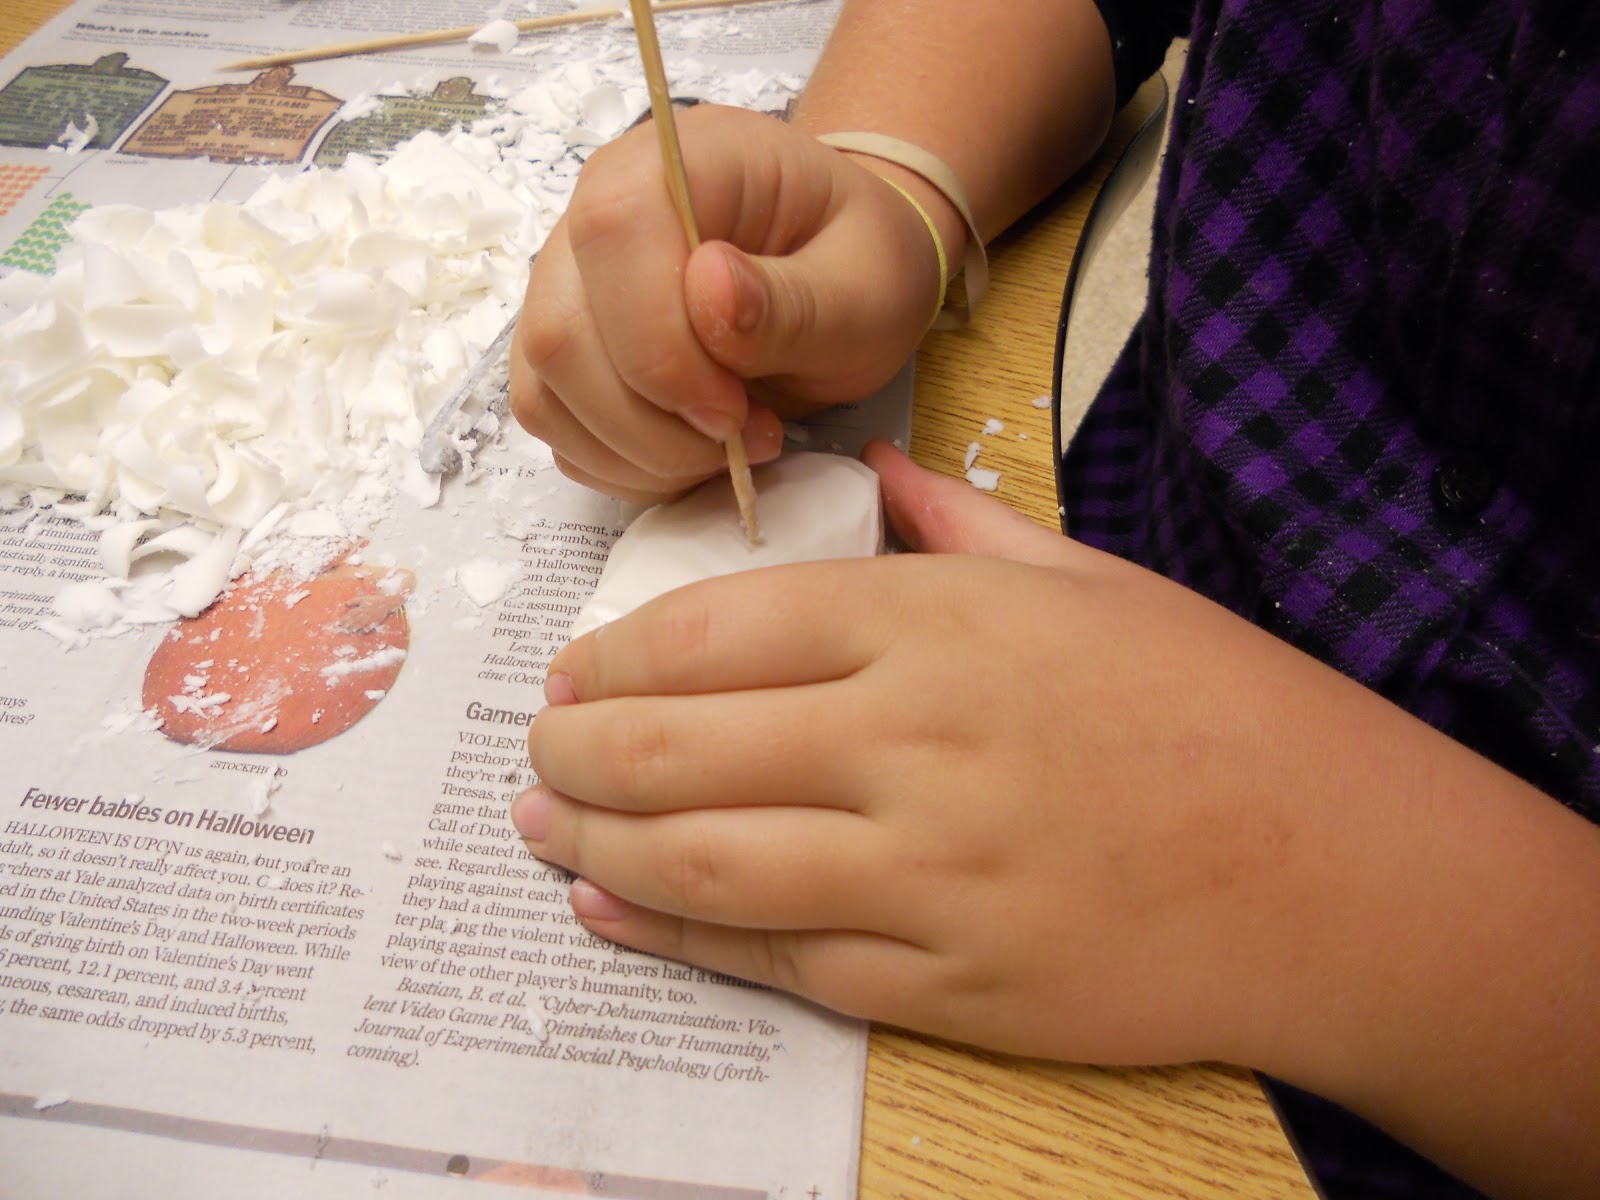
Adding the final details with the point of a skewer.


Another Polar Bear!

And a cute little turtle!

Wednesday, October 12, 2011

Dancing Skeletons

This project is one of those "I can't believe I never thought of that!" type of projects. I was brainstorming during a play date this week about some ideas I had for a quick craft to make relating to Fall/Halloween. My girlfriend, who used to be a teacher, shared the idea for this craft with me. Thanks Jill! It is super easy and super inexpensive--I bought the chalk & dog bones at the dollar store. The dancing skeletons are cute and remind me of an old Disney cartoon I used to watch when I was a girl! Have fun making a whole conga line of dancing skeletons!


Supplies Needed:

  • Dog bones (the hard crunchy kind, the ones I used are "medium" and are about 2" long)
  • White tempera paint
  • White chalk
  • Black construction paper (you can use 9x12" or a larger sheet if you want to create a background)
  • Paintbrush
  • Paint tray
  • Water & paper towels


Directions:

1. Using chalk, draw the skeleton's head (skull) onto the paper. This should be somewhere at the top and be about 2" tall. I like to make my skeletons happy and smiling--they are dancing after all!

2. Place some white tempera paint onto the paint tray. Dip the dog bone into the paint, getting a nice coat on the dog bone's flattest side. Place the dog bone, paint side down, onto the black paper and slightly rock the dog bone a bit to make a nice print. You may want to practice your technique before you start your piece. I stamped one bone shape for the body and two each for the legs and arms.

3. Use the chalk to draw the fingers and toes on your skeleton. You can also draw a background if you'd like, but you may want to keep it simple. I drew a couple of gravestones, some stars and a moon.

You are done! Enjoy your happy, dancing skeletons!

**This project doesn't have to be for Halloween. It is a good activity for a younger child to do when learning about the body and the skeleton inside him/her. I know it isn't anatomically correct, but it gets a dialogue going and if fun to create.
Related Posts Plugin for WordPress, Blogger...