Showing posts with label marker. Show all posts

Wednesday, June 30, 2021

5000 Miles

Sketching Sailor Jerry tattoo-inspired art this morning. I just love the look of that art style and the history behind it. 

The bird is a Swallow and some say that sailors would have this tattoo if they have sailed 5000 miles. I feel like in the past year I’ve been 5000 miles all without traveling anywhere. It’s been a tough year (or more) that’s for sure. 


Supplies: Fine point Sharpie, Reeves watercolor pencils, Derwent watercolor brushes (the kind that stores water inside them), brush tip watercolor markers (Tombow and Artist Loft brands).

Wednesday, June 4, 2014

Rainy Day Fun! Well, sort of!

So, I planned a totally outside series of art classes, which is new for me--usually my classes take place inside. Well, I planned some fun, outside, messy art projects and…it rained. Oops! Well, hurry up, run around, and repack an inside water-based project ("It's OK kids, it's raining outside, but we can use water to make some fun art!"). Drive to the school and…it stops raining. SIGH. 

Well, we did the rainy day project anyway. :-)

YUM! Ice cream!


This wonderful project is quick, easy and addicting! I saw this project awhile back on the smART Class blog and I've been wanting to try it forever! She says it is "the best art project ever!" and I'm inclined to agree. :-)

I pulled out the Crayola markers, white coffee filters (from the dollar store), and spray bottle (from the dollar store)--and we went to town! I only had the one spray bottle and the students needed to come to me for a spray of water. Sometimes, I'd miss the filter and spray them a bit. Oops! Ah, the power!

You really should try this project--the children think this process is just magical and many of the students who aren't usually into art made TONS of these.

My class had students in first through fourth grade and I had a couple first graders struggle a bit with this project due to the patience involved in making the little dots. I don't think it's all that much work, but be aware if you have a really young and rambunctious group.

Anyhow, after they had created at least three each, the students could work them into an illustration. They had fun with that part too, although that didn't take them long. There were stained glass windows, curly snail shells, off-road vehicle wheels, and an aerial view of Rapunzel's tower with one of these designs being an intricate rug on the floor. The students were all so creative! Some even had time to make two illustrations and that was fine with me.

This was a nice project to start my newest series of after school art classes and get to know this new batch of kiddos.

Enjoy!

A beautiful rug as seen from above.
Look at that long hair swirling around the room!

This student got a jump on her Mother's Day presents!

Funky snail shells!

And look at this tank!

This student wasn't done his coloring,
but I had to snap a picture of these beautiful stained glass windows!

Thursday, June 13, 2013

Easy Paper Name Sculpture For DAD

Yep, Father's Day is right around the corner, but don't fret if you haven't made Dear Old Dad a present yet...here's a fun and easy sculpture you can make for him that will look nice on his desk or toolbox (that's how the dads in our family roll). 


This project is based on one I saw on pinterest that had no destination or info--it was pretty much a picture on the internet. I've tried to do it justice, so here's my version. My early finisher students did this one day after painting some other sculptures. I'd say this project takes less than a half an hour to do if you choose an easy word like "dad."I'd love to have my students create multi-leveled sculptures with their entire names (more letters = a more exciting sculpture), but that's for another time!

Paper Name Sculpture For DAD

Supplies Needed:
  • 3" x 5" index cards, white on both sides (one for each letter of the name you choose)
  • Pencil
  • Scissors
  • Markers
  • Clear Tape
  • Mat Board, we used black
  • Oil Pastels
Directions:

1. Draw nice, thick letters onto the index cards making them as big as you can (touching all edges of the index card, if possible). Cut out your letters with scissors.

2. Decorate both sides of each letter with markers. Use at least two colors on each side of every letter. Try using different patterns and colors for each letter--have fun!

3. Use clear tape to attach the letters to the mat board so they stand up. Make your letters touch and lean against one another, if you'd like. The more letters you have, the more elaborate your sculpture will be. You can even make your sculpture go up vertically if you have enough letters. Think of building this sculpture like you would build a house of cards with a deck of playing cards, but you can hold the letters together with clear tape (bonus!).

4. Once all of your letters are taped where you'd like them, use the oil pastels or craypas to write a message on the base such as "I Love You!" or "Dad Rocks!" The decorate the rest of the base with the oil pastels with swirls, lines, and patterns.

Now you have a colorful sculpture for Dad! Enjoy!


Some students made sculptures with their initials instead.

And this student made a sculpture for his dog, Lulu!

Wednesday, January 30, 2013

Kandinsky Mixed Media Study

This past week was the beginning of semester 2 of Modern Art with my homeschool kiddos. I began with a great little get-to-know-you project I've posted before where the students move about to four different stations experimenting with different media and making color study pictures like Russian painter, Wassily Kandinsky. The students were required to make four squares (one in colored pencil, one in marker, one in collage and one with watercolor resist), but a few had time to complete 6 squares.

Here's the original post on the how-to of doing this projects with the four stations.

Enjoy!


Thursday, November 15, 2012

Magical Fauve Landscapes

Every year I teach my students about color theory and the color wheel. This year, we're focusing on Modern Art, so I thought a perfect color-theory tie in would be learning about the Fauves. The Fauves (or Wild Beasts) are a bunch of radical artists that created some bright and beautiful pieces of artwork that didn't quite match up with the colors of reality.


I know these landscapes are pretty basic, but read the post to find out why...

I have always loved the work of the Fauves! When I was in college, I used to take this great book called "Fauve Landscape," by Judi Freeman out of my school library. The paintings just made me happy and after I renewed the book at least three times, I decided I needed to own it! I pulled the book off the shelf for this project, and it was full of inspiration for the kiddos.

I began my lesson by having the children fill in a basic color wheel. My standard 6-color color wheel worksheet allows the children to learn about primary, secondary, complementary, warm and cool colors. There was a bit of grumbling about doing the worksheet (some of my students had done this before), but understanding the color wheel is really important for this project to be a success.

Then we looked at examples of works by the Fauves (and artists that are sometimes classified as Fauvists). We had a discussion about the paintings (the colors that were used and how they make us feel, why the artists might have chosen to use the colors they did, etc.).

Then we moved on to the main project. This project was one I saved pre-Pinterest. It is from the book "Art is Fundamental," by Eileen Prince and I always thought my students would enjoy it. In short, students create a simple landscape scene using complementary colors for the objects in the scene. Prince suggests doing the lesson as a draw-along, so that's why all of our pictures look alike. This is a great project because it only needs one piece of paper, a pencil and markers. Having the color wheel on hand really helps them get the idea of complementary colors. By the end of the lesson, they were pros!

Once they are done coloring their scene with nice, solid color, students stare at the completed image for about 30 seconds and then quickly look at the white surface. If done correctly, they will see an afterimage of the scene with the colors appearing properly. It took some of the students a couple of tries to see the afterimage, but most of them were able to see it.

This project didn't impress some of my students as much as I thought it would, but I think I'll keep it in the curriculum because it is a great lesson on color theory and some really cool artists. I also think it is a great lesson to teach children about creating art "in your own way."

The white space on the lower portion is the "white field"
the children look at to see the afterimage.

Nice, solid colors are key to this project.

This project is like a "art vocab ninja"!
The children don't even realize they are learning so much
about color, landscapes, and Modern art.


Saturday, September 1, 2012

Clay and Paper Butterflies

Do you know some students who are studying butterflies? This is a great project for children in Kindergarten and elementary school. You can work in so many great concepts with this project: parts of an insect, symmetry, pattern, and more.


I started by having my students cut out the wings and design them and then I walked them through the making of the butterfly body. We finished up by adding the details such as antennae and legs. I really enjoyed this project because it taught science and art concepts, but it also because it allowed the students some self expression; a win/win in my book!

Clay Butterfly With Paper Wings

Supplies Needed:

  • One 6" x 9" piece of construction paper for the wings (light color)
  • Pencil with eraser
  • Scissors
  • Assorted markers
  • Model Magic by Crayola (about the size of a chicken egg), whatever color you want
  • 3 pipe cleaners (chenille stems), whatever color you want

Directions:

1. Fold the construction paper in half the short way (hamburger or taco fold).

2. Arrange the construction paper so the fold is on the left. Draw a capital letter "B" on the paper extending it so the top and bottom of the "B" touch the top and bottom of the paper.

3. Cut out the "B" shape, but don't cut the middle line (in between the upper and bottom bumps). Write your name on the paper and open it up so your name is face down. These are your butterfly wings.

4. Decorate the wings with whatever designs you would like: big dots, little dots, lines, etc. I showed a couple of butterfly books to the children before they started drawing. I asked them to make their designs symmetrical, or the same on both wings.

5. I then gave each child a ball of Model Magic the size of a chicken egg. I had them pull off a piece and roll it into a 3/4-1" ball. This is the butterfly's head. Place this ball of dough at the top of your butterfly's wings and press down slightly.

6. Divide the remainder of the dough in half (two equal parts). Form he first into a ball. This is the thorax for your butterfly. Place this ball of dough below your butterfly's head on the wings and press down slightly.

7. Roll the remainder of the dough into a hot dog shape about 3" long or so. This is the abdomen of your butterfly. Place this ball of dough below your butterfly's thorax on the wings and press down slightly.

8. Use scissors to cut each pipe cleaner into three equal sections. Poke 2 pipe cleaner pieces into the butterfly's head as his antennae. Wrap another pipe cleaner piece into a coil and poke it into the head for the butterfly's proboscis.

9. Poke the remaining 6 pipe cleaner pieces into the butterfly's thorax (3 on one side, 3 on the other). These are the butterfly's legs.

You're done! Enjoy your colorful butterfly!

Tuesday, June 5, 2012

"No Tie" Tie Dye Bags

I love the look of tie dye, but I don't like the mess...and the prep...and the post-dying process to set the colors...it's just too much work for this mama! So I was intrigued when I saw the "No Tie" Tie Dying technique online using Sharpies and rubbing alcohol to create tie dyed effects on T-shirts! 


Why should you do this?
  • WAYYYYYY less mess than traditional tie dye! Actually no mess at all!
  • You probably have the supplies already (Sharpies, white T-shirt, rubbing alcohol).
  • It's addicting and the success rate is high (good for Kinders to adults).
  • This project not only combines ART (color mixing, warm & cool colors, the color wheel, etc.) but it also is a SCIENCE lesson in solvents and molecules.
I did this with my after school Recycled Art class--I had the children do their "No Tie" Tie Dying on squares of white T-shirt fabric I had pre-cut to about 9" square. This gave each child the opportunity to create 4-6 designs. Once their panels were done, I sewed them to bags I had made from an old T-shirt. The design for the bag mimics a traditional plastic shopping bag and is very easy to create (two seams) from an old T-shirt. 

This created a bag from RECYCLED resources (old T-shirts) and REDUCED our art supply consumption (using items we already had on hand) to create a beautiful and useful project students can REUSE over and over (instead of using a disposable bag). WOW!

Don't want to work that hard? Instead of creating a bag, use a plain white T-shirt or a plain bandana--the results are fabulous and perfect for the summer! ENJOY!

"No Tie" Tie Dye Bags

Supplies Needed:
  • White T-shirt
  • Sharpie in rainbow colors
  • Eye droppers or pipettes (I bought ours at Michael's craft stores in the soap-making section--five for $2.00)
  • Plastic cups (we used old yogurt containers)
  • Elastic bands
  • Rubbing alcohol
Additional supplies for the bag:
  • Other color T-shirt (we used blue)
  • Ruler
  • Sewing machine and matching thread
  • Scissors
  • Pins
Directions:

1. Cut the white t-shirt into 9" squares. Discard the rest of the t-shirt, or keep for another use.

2. Use the Sharpie markers to draw a simple design, about the size of a quarter, onto the white t-shirt material. We experimented with a variety of designs from simple, geometric designs to flowers and peace signs (see the photos).

3. Place the t-shirt over the plastic cup, centering the design over the opening of the cup. Secure with a rubber band. 

4. Using the pipette, slowly drip rubbing alcohol onto your design. Don't flood the design--you want to allow the rubbing alcohol to slowly dissolve the ink and allow the colors to blend as the fluid wicks along the threads of the fabric. We used about 20-30 drops of alcohol.

5. Repeat so that the surface of the t-shirt square is nicely covered. Allow the square to dry toroughly before heat setting. Fifteen minutes in the dryer is recommended, but you can also use an iron on cotton setting for a couple minutes.

Make the t-shirt bag:

6. Place the t-shirt you'll be using for the bag onto a table and smooth out. Referring to the photo, use sharp scissors to cut off the collar and sleeves close to the seams. You can use a real plastic shopping bag as a guide or just eyeball it. Leave the shoulder seams about 3"-4" wide.

7. Increase the sleeve openings to be 7"-8" tall. I used kid-sized t-shirts for my art class, so I made the arm holes 7" tall, but if you are using a grown-up t-shirt, you might want to make the openings 8" tall or so.  

8. Enlarge the height of the opening of the collar by cutting a "W" shaped hole--use the photos as a guide. This will make the opening of your bag larger and easier to use. Still keep the shoulder seams about 3"-4" wide.

9. Fold the inner and outer seam at the shoulder of your t-shirt in and tack it (with a sewing machine) to make the handles narrower as they are on a real plastic grocery bag. The finished shoulder seams can be about 1" wide or so.

Detail of the finished shoulder seam.

10. Pin and sew the bottom edge of the t-shirt. You can add gussets to the side edges of your bag before sewing the bottom seam (see photo). Real plastic grocery bags have gussets on the bottom and it make the finished bag look nicer (in my opinion). Sew two seams at the bottom of your bag for durability.

Detail of the gusset on the right side of the bag.
11. Pin the square of fabric you tie dyed onto the front of your bag. Sew on.

12. Go shopping!


Wednesday, May 2, 2012

Inspiring Art Books: "Only One You," by Linda Kranz

I'm an avid reader and I'm always looking for ways to create a multi-layered experience in the art classroom: music, movement, looking at a real piece of artwork, performing a play, etc. I also like to bring in books to share. This is kind of tricky since I have a short period of time to teach and I don't want to spend the whole class reading a book AND some children want to get creating when they get to my classroom (and won't sit still for me to read an entire book)....BUT, nonetheless, I keep trying!


Sometimes I show them the pictures (illustrations) from the book and comment about the images and then while the children are working I actually READ the book to them. This seems to be what works right now with my students.

Anyway...I heard about this great little book and it is perfect for an art project! "Only One You," by Linda Kranz, is a wonderfully colorful book full of great litle nuggets of wisdom. The story itself is of a mother and father fish imparting words to live by to their son, Adri. The illustrations are simple and combine underwater photo backgrounds with rocks painted to look like fish. But these aren't the fish you are used to--they are painted with tons of bright colors and patterns--the artwork is truly inspiring! And don't miss the endpapers (the paper on the inside of the front and back covers), they are filled with little sayings that are great and are good reminders to us all.

Of course, you could paint rocks to link to this book, but I thought a project I saw on Art Moments could be tweaked a bit and work nicely.

Only One ME Paper Plate Fish

Supplies Needed:

  • Paper plate
  • Pencil and eraser
  • Scissors
  • Glue stick and Elmer's glue
  • Sharpie or other black permanent marker
  • Colored markers (we used Crayola washable markers)
  • Large sheet of blue construction paper (12" x 18")
  • Green and brown construction paper
  • The book, "Only One You," for inspiration!
Directions:

1. Cut away a triangle shape from one side of the paper plate to create the fish's mouth. Glue the triangular piece you removed onto the side of the fish opposite the mouth to represent the fish's tail (see photo).

2. Use the pencil and draw an eye, lips, and a fin on your fish.

3. Look at the book for inspiration and discuss line, pattern, color, etc. With younger children, you may want to have them practice drawing lines and patterns to get their creative juices flowing. Use the pencil  to divide the areas of the fish into different patterns. The sky's the limit!

4. Once the fish is all patterned-up, have the child draw over the pencil lines with a permanent black marker (if you use a washable marker for this, it will bleed later on). Erase the pencils lines after you've inked the entire fish.

5. Fill in the areas of the fish with color using the markers. Everyone's fish will be different, and that's the point! Make sure the fish is nice and colorful!

6. Have the child rip green and brown paper for the seaweed and ground and adhere them to the blue construction paper background using a glue stick. I used Elmer's glue to adhere the fish to the background.

7. You could add another layer to this project by having the child either write his/her name in a speech bubble coming from the fish's mouth OR have the fish be imparting a bit of wisdom. The children can make up their own bit of advice or use one of the quotes from inside the end pages of the "Only One You" book such as: "Enjoy Every Day."

Another great idea for this project would be to create a bulletin board with all the fish from one class. Decorate the bulletin board with blue paper and add seaweed and a ground from ripped construction paper. Then add a special quote from the book or one that has particular meaning to your class and arrange all of the fish around the quote.

No matter how you do this project, it is a great way to learn some of the basic elements of art while allowing children to express their individuality. The words of wisdom will also spark quite a bit of discussion, no matter what age group you try this project with. Enjoy!

Saturday, January 21, 2012

Mini Craft (Popsicle) Stick Snowman

Snowman's Valentine
by Leland B. Jacobs

I have a jolly snowman,
The best I've ever had.
I'm giving him a valentine
that ought to make him glad.
For though he's very handsome
and sound in every part,
I noticed only yesterday
he hasn't any heart.
So quickly with my scissors
and paper red and fine
I made a fancy little heart;
my snowman's valentine!


Left: Back of piece
Middle: Front of snowman, partway through project.
Right: Completed snowman project
This is a nice little craft that uses supplies you may already have on hand. I sent this craft in for my son's 2nd grade class to do at their Holiday Party, but it is a cute craft to do on a snowy day or decorate your snowman with a heart, attach the above poem, and give it out for St. Valentine's Day!

Popsicle Stick Snowman

Supplies Needed:

  • Four craft/popsicle sticks
  • Glue (I like using a glue gun, but tacky glue is probably better for little ones)
  • White tempera or acrylic paint
  • Markers (we used black and orange)
  • Felt scraps, assorted colors. You'll need a 3.5" x 4.5" rectangle for a hat and a 9" x 1" rectangle for a scarf
  • One to two 6" pieces of yarn
  • Sticky-backed felt shapes or paper to make a heart, optional
Directions:

1. Line up three of the popsicle sticks next to each other with their long sides touching. Cut the remaining popsicle stick into 1" sections. Glue two of the small sections onto the back of the larger popsicle sticks for support, using tacky glue or hot glue. This is your snowman's body. Let dry.

2. Flip the popsicles sticks over and paint the front of the snowman white. Let dry.

3. Fold one of the long edges of the 3.5" x 4.5" rectangle to make a hat brim. Using the photo as a guide, attach the hat to the snowman (you'll need to glue it to the front of the snowman and the back). Then, use a piece of yarn to gather the hat and give it some shape. Knot the yarn and trim excess. If you are making the snowman an ornament, make a loop with the second piece of yarn and attach it to the back of the piece.

4. Using the markers, draw features on your snowman such as eyes, carrot nose, mouth and buttons.

5. Cut 1/2" long slits for fringe at either end of the piece of felt you will be using for a scarf. Tie the scarf around the snowman and secure with a dot of glue. 

6. Add a paper heart if you are sticking with the poem above.

You're done! Enjoy your little snowman!

Thursday, December 15, 2011

Mexican Folk Art Ornaments

Ooooh, I have a special treat for you today! Tooled metal ornaments inspired by Mexican folk art! They are so bright and shiny, the children just loved making them!
Mexican Folk Art Ornament

When I am looking for inspiration for art projects, I look pretty much everywhere: my Art History books, gift catalogs, and magazines to name a few of my sources. My grandmother loves to bring me magazines that she's done with. No matter how old the magazine is, I love to look through them for techniques and inspiration. This craft was originally published in "Crafts" magazine in 1984. I loved the look of these ornaments and thought my art kids would love to make them. I was right! They LOVED making these. I had them make little cards to put them in so they could give them to a loved one as a gift.

The tooling aluminum needed to be ordered online from www.dickblick.com, but it was so worth it! I ordered a roll for just under $6 and combined with a couple of other things, shipping was only $7. I know that seems like a bit much, but I did have a few things in my order and the tooling aluminum is a roll of 15' or so, enough for plenty of ornaments! Plus, it is a medium that is unusual for the children to work in. I highly recommend it! So, let's get started!

Supplies Needed:

  • Tooling aluminum, available from www.dickblick.com
  • Newspaper
  • Dull pencil or blunt stick for tooling the design
  • Sharpie markers or other permanent felt tipped markers in a variety of colors (I had an eight color assortment available, but so many beautiful colors are available!)
  • Hole punch
  • 8" piece of ribbon for hanging
If you would like to make this as part of a card, see the end of this post.

Directions:

1. Choose a design for your ornament, we used the full size ornament patterns that were published in "Crafts" magazine, but I also had a few blank ornament shapes available for children to design their own. I encouraged the children to design bold designs with clear, large shapes. I also told them to fill up the entire ornament shape and add some details to their design (tons of little details may get lost, but I didn't want them to just draw one little shape in the middle of the ornament and say they were done). Just to be sure they created designs that would work, I had them show me their drawings "for approval" before they started tooling.

2. Using scissors, cut a piece of the aluminum roughly the size of your ornament. We used 4 1/2" x 6" rectangles. Tape the paper with your ornament design to the aluminum to hold it in place while you work.

3. Place the aluminum onto a pad of newspaper. This will create a soft surface for the metal. Using a dull pencil and firm pressure, trace over all of the lines of your design.

4. Once your design is done, use scissors to cut out the shape of the ornament. I found that younger children had trouble with this part and sometimes the ornament would get all bent up or the outer shape would become distorted. So if you are working with younger children, you may want to cut the ornaments out yourself.

5. Flip the ornament over and gently color the raised surfaces with permanent markers. The children can create large areas of color and then add details with a darker color on top. Encourage doing one's best work, taking one's time and adding details and pattern.

6. Once done, have the child add his/her name and date to the back.

7. Use a hole punch to create a hole for hanging and add ribbon to hang the ornament.

8. Attach to a card if desired. See my card directions, below. Feliz Navidad (Merry Christmas)!

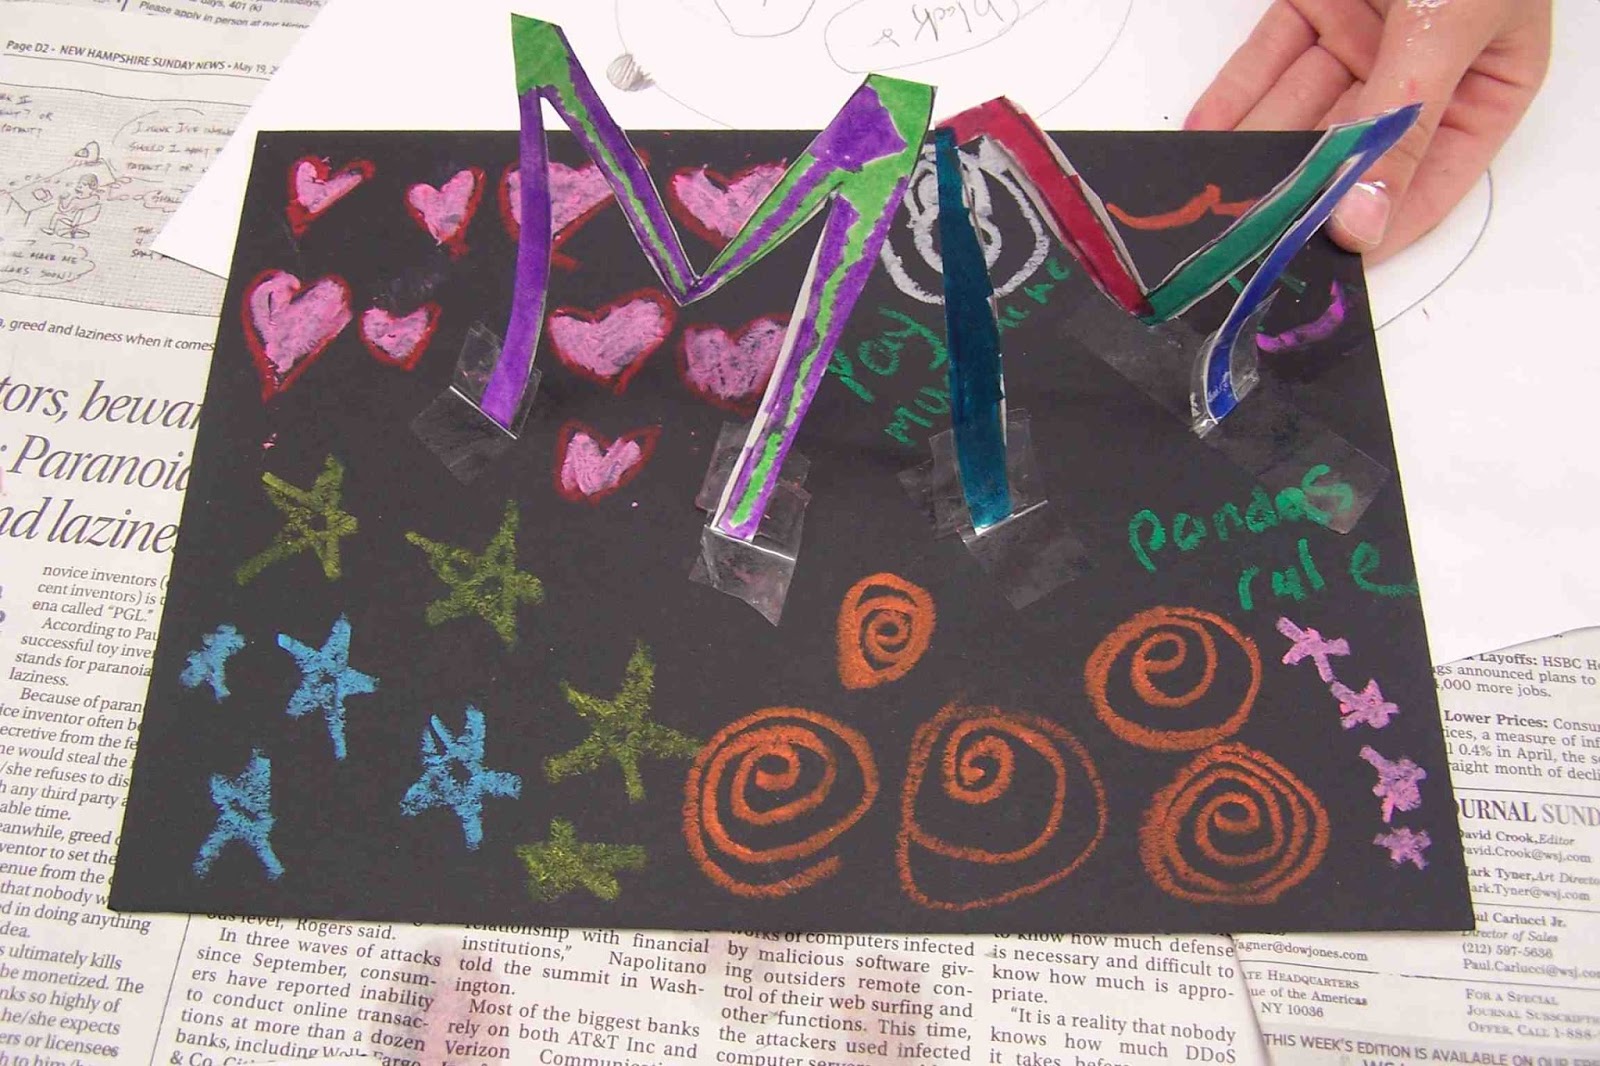
Some of the ornaments done my my students

----------------------------


To make this project into a card:

Additional Supplies Needed: you'll need construction paper for the card, an envelope, tape to adhere the ornament to the card and the optional information for inside the card (see the info later on in the post).

Cut a piece of construction paper so that it fits inside the envelope you have. Inside the card, glue the greeting and the information about the project. Have the child sign the card.

The greeting I used was:

Feliz Navidad, próspero año y felicidad!

(Merry Christmas, a prosperous year and happiness)

 May the Spirit of the season bring you joy and peace.


I also included this information on the card: 

Tooled Metal Ornaments


Congratulations! You are the proud recipient of a hand-tooled and hand-colored metal ornament. These ornaments are done in the style of Mexican folk art with markers standing in for the traditional paint. The children used tooling aluminum from www.dickblick.com, pressing their designs into the metal with a dull pencil, then added color with permanent Sharpie markers.

Care of your ornament: the tin is bendable, so care should be taken to keep it from being crushed. It should also be hung up away from little ones since the marker could come off if the ornament is chewed on and the edges are a bit sharp for delicate fingers.


Use tape to attach the ornament to the front of the card and draw a "frame" around the ornament with a felt tip marker to fancy up the front of the card. Done!

Note: if you are going to write a name on the front of the envelope, do so before you put the ornament in the envelope or you will ruin the ornament. Also, take care not to fold or bend the ornament--the metal is pretty thin and will crush and/or bend easily. If you want to mail this card, you'll have to put it in a crush- and bend- proof package.
Related Posts Plugin for WordPress, Blogger...