Showing posts with label draw. Show all posts

Friday, January 29, 2016

Happy Birthday, Paul Cezanne! (On January 19th)

In honor of Cezanne's birthday, I thought I would REPOST a popular lesson from 2013 that is fun and easy and is appropriate for a wide range of students. The painting below is my youngest son's and was featured in the book "500 Kids Art Ideas" by Gavin Andrews published by Quarry Books. While this is a nice fall-inspired still life, you could change it to pears or lemons/limes for a more winter or spring theme. Either way, the results are fabulous and the lesson is chock-full of active learning.

-------------------------------

We are all into fall over here and I thought this week would be a nice time to do a still life with apples with my after school art class. This is the first time we've met this school year, and the group has 1st-4th graders in it. I had an idea of what I wanted to do, it's actually a combination of two lessons I saw out there:
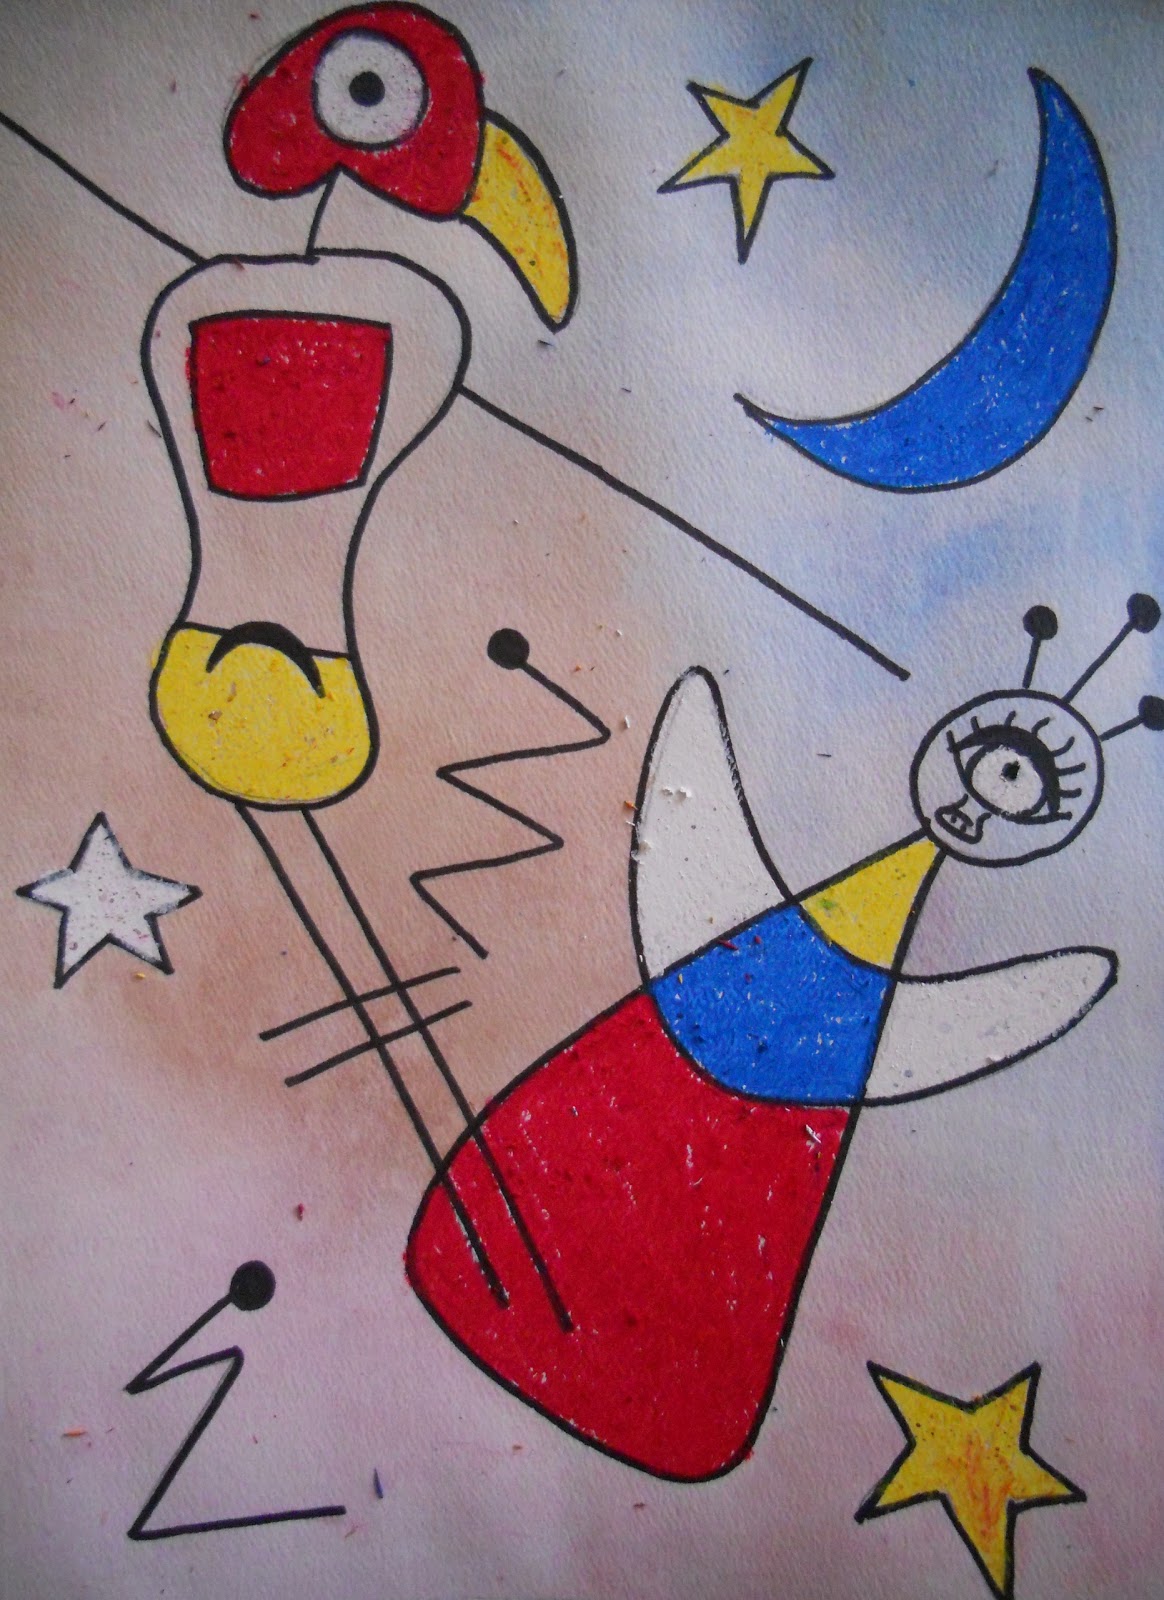
My 1st grader's example with Cezanne's reproduction.
I can't show you the still life--he ate it!
(UPDATE: He's now in 3rd grade, but still eats still eats everything in sight!)

"Still Life With Oil Pastels and Baby Oil" (2 posts) from Fine Lines
http://kids-finelines.blogspot.com/2012/04/still-life-with-oil-pastels-and-baby.html
http://kids-finelines.blogspot.com/2012/04/oil-pastels-and-baby-oil-part-2.html

That was pretty much the lesson I used, but I modified my talk in the beginning to be about Paul Cezanne's work showing them "Still Life With Apples."

I then used the talk I found on That Artist Women: "Open vs. Closed Composition"
http://www.thatartistwoman.org/2011/09/open-vs-closed-composition.html

I really like how she shows real art examples in her post. I showed those to my kiddos as well.

Then I gave them time to experiment with arranging the apples (and one girl's donated pear) into closed and open compositions. There were three students to a table and the table needed to agree on a composition they liked best.

And then we were off! I walked them through drawing, demoed how to use the oil pastels and baby oil, and gave a quick watercolor demo.

These are their creations! Beautiful! They are so proud (me too!).

Enjoy!


Modern Art Class Roll-a-Miros

A little while back I posted about a neat project I saw on Pinterest (but couldn't find the source). The idea was to use a die and a chart to help students create Miro-inspired creatures. I did this project with my Modern Art homeschool artists and they loved it! Some of them said it was the best project so far this year! 

Here is the original post and the how-to for the Roll-a-Miro on my blog.

And here are some of the finished pieces from the home school group:


Sunday, November 2, 2014

Fall Still-life With Glue and Pastels

Here are some pretty still-life creations my after school art class finished up this week. OK, I can use other, more "artsy" words like "dynamic" or "engaging" to describe these, but MAN, are they pretty, too! I've done this project before, and the students are always amazed at how the pieces come out (me too!). This group had students who are in first grade through fourth--so you can see it's pretty accessible to all with the right amount of scaffolding.


I made the mistake, this time, of using clear glue (gel and plain clear) since that's what other art teachers have said they used for this project with great success. I tried it because, in the past, I had found the regular  Elmer's glue can dry a bit cloudy. Anyway, I WAS NOT happy with the results. The clear glue soaked into the paper and ran off as the students were moving them to the drying space leaving drips and blops all offer the classroom and my car (a.k.a. the mobile art studio). It also soaked through the paper and glued the pieces to tables and the seats of my car...(big unhappy face for Mrs. Pettus) ;-)

So, if you do this project--which a HIGHLY suggest you try--use plain old Elmer's. It's fine for this project. So fun and magical (and "pretty")! Check out my previous post about this technique here.

ENJOY!

Friday, June 20, 2014

Nature Walk Scavenger Hunt and Sketches

Are you heading outdoors with a bunch of kiddos to look around? How about a Nature Scavenger Hunt? A couple of years ago, I worked for the Nature Center in town, Peabody Mill Environmental Center, and they sent me off to a Kindergarten to do a class visit. I thought an outdoor exploration of the playground, discussion about plants and their parts, and a sensory nature walk/scavenger hunt would be great! I met with multiple classes that day and we had a blast!

This is a great project and can be adapted for an outing with a bunch of scouts,
a camp experience, an art classroom, general classroom, homeschooling field trip, etc.

Prepping For The Lesson:
This is a nice lesson that requires very little prep--although you may want to buzz around the playground before the kiddos join you, so you have an idea of what is out there that you might want to point out to them.

Also, you'll need to print out the scavenger hunt form--I used one from The Bird Feed NYC--they have a bunch of them there (and some other neat stuff too!). We would all be using the same form and filling it out as a class (each class got their own). I glued the scavenger hunt form to a large piece of construction paper, so I would have room to draw my diagram of a flower and its parts. I also wrote some good scientific words on the poster such as: look, listen, touch, smell, observe, identify, dissect, and collect (apparently I misspelled dissect the first time around!).

I also brought a bunch of star stickers, a sharpie for me, some pencils and sticky notes, too.

Starting Off:
I met the classes in the art room and told them that we'd be heading outside to do some exploring. We talked about using out senses to experience the world around them. However, we would not be using our sense of taste! No licking the trees! I then went over the rules for outside behavior and how we'd be working together to complete the scavenger hunt form.

Moving Outside:
We went out and sat down. We experienced the playground by using our senses and we discussed what we heard, saw, felt, and smelled. We checked off as many things from the scavenger hunt form that we could while sitting there--it was quite a bit!

Then I let the children move around and I pointed out a few things that I thought would interest them, such as a little mushroom I found, etc. We stopped and looked at a dandelion and we discussed the parts of a flower and I drew them on the poster and labeled the parts. They loved this part and they really enjoyed dissecting the dandelions and seeing up close the parts of the flower!

Wrapping It Up:
We took a couple of minutes to see if we could find anything else on the list, then I brought them over to the picnic tables and gave them each a pencil and a sticky note and invited them to draw a picture of something they saw, heard, touched, or smelled today on the walk. I them glued their sketches all around the edges of the poster and gave the finished piece to their teacher to display in the classroom.

In the future, I could make the poster a bit better, I think, but I really liked how this easy lesson came together and I loved the sketches the children drew--it was great to see what they took from their time outside.

Enjoy!


Friday, October 25, 2013

"Drawing With Light" at the NHAEA Fall Conference 2013

It's that time of the year again! Fall colors and the NH Art Educator's Assoc. Fall Conference!

I love going to the conference and connecting with art teachers from all over the state! It's truly inspiring! And this year was no exception!

My morning session was "Using Photography in the Elementary Classroom." This session was led by Katie Poor, a teaching artist currently working at the Providence Children's Museum. She began by describing a lesson on cyanotypes that she teaches. Then she walked us through a very interesting lesson where she teaches children to "Draw With Light" using flashlights and digital cameras. She brought in some digital cameras of her own and we spent the remainder of the session experimenting with the technique.

She showed us a few examples--the most famous, I guess, would be Picasso from LIFE magazine in 1949. Check out the link to see all of the inspiring images...


We experimented by making shapes, squiggles, letters, drawing images (which are actually harder than it looks), and entire words...while we played, I think we all started thinking of ways this could be used across the curriculum.

My session partner and I experimented with using the white board and a dry erase marker to draw the idea first (either an image or a word) and then use the flashlight in our hand to "trace" the dry erase marker lines we had made on the board. You can see an example of this further in this post (the "art rocks" image) and a few more of our experiments on Katie's blog (link below). We were MUCH more successful doing our "drawings" this way versus trying to imagine an image and draw it freehand in front of us like Picasso did. After trying to draw freehand, I REALLY appreciated Picasso's drawing with light images!

To check out the photos from the session and see what we did, click on Katie's link:
http://photographerintheclassroom.tumblr.com
And just look for the most recent posts (there are two that contain our examples).

I was fortunate to bring my camera from home to the session (it was in my mobile art closet/minivan so I was able to grab it). I had Katie advise me on setting my aperture and shutter speed and, although my camera isn't as fancy as the ones she brought (her cameras allow for 30 seconds of exposure, but mine allows only 16 seconds), I was able to go home and have my children "Draw With Light" a bit.

This is such a fun lesson, I really think I'll need to get into a classroom and teach this soon!

Thanks, Katie, for the great idea!

This should say "art rocks" but my my camera only allows for
a shutter speed of 16 seconds--I bet I could have traced the whole
word if I had tried again (the more successful attempt is on Katie's blog).

3-year-old draws a circle

6-year-old tries for a square
(it's harder than it looks!)

6-year-old tries for a star


Thursday, October 24, 2013

Fall Compositions With Elmer's & Pastels

Fall is my favorite season and I have been LOVING driving my hour-an-a-half drive up to my Grad School twice (sometimes three times) a week...I pop in a book on tape and enjoy the beautiful fall folliage that New Hampshire has to offer! Ahhhh!


The focus of my after school art class for my 1st-4th graders is "Fall Into Art"--fall-themed art activities...last week, we drew apple still lifes inspired by Cezanne, and this week we took advantage of the nice weather and beautiful fall displays outside the school that had been donated by the Amherst Garden Center in Amherst, NH. The Garden Center had flanked the entrance of the school with pumpkins and gourds, hay bales, scarecrows, and beautiful mums! I couldn't ignore all of the visual stimuli out there ready to draw!

We spent some time looking and touching the displays, then we sketched them. We moved inside and selected one the things from our sketches to "draw" on black paper with Elmer's glue. The students were VERY skeptical when I told them we'd be drawing with Elmer's and you should have seen the surprised looks when I did my demo and piped glue along the lines of my drawing!

I had seen this Elmer's glue/pastel combination online before but had never tried it. I think it would be great for winter snowmen as well...

Anyway, we let the Elmer's glue dry (they rode around for a week in the back of my minivan--the mobile art studio.

The next week, I showed the students how to color in the non-Elmer's areas--the negative space--with the chalk pastels, encouraging them to add highlights and shadows to make their pictures really "pop" and look more realistic. I suggested using my "use at least three colors in each section" rule...

The students were VERY pleased with this new "technique" and, at the end of class, we discussed some other compositions they could use this technique on. The fourth-graders were very specific with their questions about materials: where I purchased the materials, what they are called, how much they cost. They want to make sure the next time they go to Michael's Crafts Store they purchase the proper things so they can do this technique again--THAT (to me) is a sign of a successful art lesson--my students wanted to take something they learned in class and go with it.

Enjoy!


Saturday, October 12, 2013

Cezanne's Apples and Composition

We are all into fall over here and I thought this week would be a nice time to do a still life with apples with my after school art class. This is the first time we've met this school year, and the group has 1st-4th graders in it. I had an idea of what I wanted to do, it's actually a combination of two lessons I saw out there:
My 1st grader's example with Cezanne's reproduction.
I can't show you the still life--he ate it!

"Still Life With Oil Pastels and Baby Oil" (2 posts) from Fine Lines
http://kids-finelines.blogspot.com/2012/04/still-life-with-oil-pastels-and-baby.html
http://kids-finelines.blogspot.com/2012/04/oil-pastels-and-baby-oil-part-2.html

That was pretty much the lesson I used, but I modified my talk in the beginning to be about Paul Cezanne's work showing them "Still Life With Apples."

I then used the talk I found on That Artist Women: "Open vs. Closed Composition"
http://www.thatartistwoman.org/2011/09/open-vs-closed-composition.html

I really like how she shows real art examples in her post. I showed those to my kiddos as well.

Then I gave them time to experiment with arranging the apples (and one girl's donated pear) into closed and open compositions. There were three students to a table and the table needed to agree on a composition they liked best.

And then we were off! I walked them through drawing, demoed how to use the oil pastels and baby oil, and gave a quick watercolor demo.

These are their creations! Beautiful! They are so proud (me too!).

Enjoy!


Monday, February 4, 2013

More Miros

Last Fall I posted a Roll-a-Miro project. I just did this project again with my after school Modern Art class and here are the results--ENJOY!

P.S. If you have been thinking about doing this project but haven't yet, please do! The children really have fun with it!

P.P.S. The link to the Roll-a-Miro chart on Pinterest is here (I haven't been able to find the original source for this):

Creatures From Smoo 57

The Angels of the Ocean

The Angel of the Sky

The Amazing World of Squiggle

The Animal World
The Evil Squidwards

Wednesday, January 9, 2013

Peek-a-boo! Who's In The Shelter? Science and Drawing


This is a fun project for kids of many ages, especially if they are learning about shelters and habitats and hibernation. This sample was done by my Kindergartener and he had a fun time drawing from photographs (it's too difficult to get a chipmunk to sit still!) and he was able to use the pictures I had on hand to create his own version of the chipmunk, complete with bushy tail (most of the tail is inside the tree).
Peek-a-boo! It's a chipmunk!

Critter In The Hole of a Tree

Supplies Needed:

• One 9" x 6" piece of brown construction paper• Scraps of brown paper• One 9" x 6" piece of black construction paper• One 9" x 6" piece of white card stock• Pictures of the critter you choose• A piece of wood to use for rubbing (make sure it has a nice, raised grain), optional, you could draw the wood grain• Dark brown and/or black crayon• Colored Pencils• Scissors• Stapler with staples

Directions:

1. Choose the critter you'd like to draw. I talked to my son about the types of animals that would live in holes in trees and under the trees among the roots. He chose to draw a chipmunk. I gathered a couple of photos of chipmunks for him to reference.

2. Draw the critter on the piece of white paper. I drew a line on the bottom edge of the white paper about an inch and a half up from the bottom, so that my son wouldn't draw the animal too low (you want to be able to see the critter when the piece is all together). I told him to draw the chipmunk about 4-5" tall (about THIS big, I showed him with my fingers). You don't want to make the critter too small--we need to be able to see it!

3. Color the critter with colored pencils. Use the pictures as a guide to make the colors just like in nature. Cut around the critter, but leave the 1 1/2" border along the bottom edge of the critter. This bottom border is how you'll secure the critter in your project and it boosts him up so he's peeking out of the hole you'll make later. Set aside your critter drawing for now.

4. Place the brown paper on top of the wood surface and secure with tape. Use the edge of the crayon to rub and create the wood grain on the paper. We used our old wooden steps--the texture was just right. My son drew in one of the knots he saw since that didn't transfer well.

5. Cut a U-shaped section out of the wood-grained brown paper from the top edge. This is the flap for your shelter. Set aside for now.

6. Cut some 1/4" wide strips of the brown paper and crumple a few of them in your hands to use for nesting material inside the tree.

7. Assemble the project: Lay the U-shaped piece of construction paper (not the flap piece, the rest of the tree piece) on top of the black rectangle of construction paper. Staple along one side. Place the critter between these two pieces of paper, with the bottom edges of all the pieces of paper lined up an your critter looking out the hole. Staple along the bottom edge of your piece and up the remaining side. This will secure the critter in the hole. Stuff some of the nesting material inside around the opening of the tree. Replace the flap of the brown construction paper back in place and staple across the top edge to secure it to the piece.

Check out who's living in that old tree! What critter do YOU see?


The project with the flap closed--see the woodgrain?

Peek-a-boo!
This is a close-up in case you need it for assembly
or want to check out that cute critter even closer!

Wednesday, September 19, 2012

Fun With Juan Miro


I just did a fun project with one of my private art students where we looked at the fanciful art of Juan Miro. 

"Midnight Masquerade" Inspired by Miro

His artwork is made up of cartoon-like creatures and has limited colors, but the colors that are used are bright. It can be hard for a child, who is used to drawing from life, to break away and surrender to drawing squiggles and weird shapes, but it's a wonderful exercise in letting loose and having fun with art. In order to free us up so that we didn't draw anything too recognizable, we used a chart and rolled a die to randomly choose the elements that would appear in our pieces. This is the chart I found on Pinterest and it doesn't link back to any site (SIGH). I hate that! If anyone knows where this chart came from, please let me know so I can credit the creator.

When creating the piece, I had my student focus on composition and scale. The figures in our drawings did not have to be the same size, but she chose to make them that way. I think I would suggest, in the future, that the student create two to three figures (their choice) but one had to be larger than the others. I think that would make the piece more visually interesting and we could talk about how the size of the figures affects their relationship to one another and to the space.

As we worked we came up with a story about these creatures and what they were doing. This helped later on when we selected colors for the accents and the background.

We then inked the figures with Sharpies and added spots of color with bright oil pastels. This was a great opportunity to talk about balance and make sure bits of color appeared throughout the piece. We then finished the pieces off with multi-colored watercolor washes. We talked about tone and how the color choices in the background could reflect mood or time of day. For example, a piece that takes place at night might have cool, dark colors whereas a piece that depicts a happy moment may have bright, warm colors. We then made up great desciptive titles for our pieces and wrote them on the edge of the work.

Miro is not for everyone, but it was fun to try something different and fanciful! Enjoy!

"The Wizards Making Magic in the Night"
by my student age 9

Tuesday, June 26, 2012

Follow-up: 3D Wire Sculpture

One of my 13-year-old private art students created a wonderful sculpture from pantyhose and a coat hanger and it came out so incredibly cool! I wish I could do this project with ALL of my students! I originally showed this project here while it was in-the-works. These sculptures do take a while to make--she worked on it during a few of our sessions together (a coat of gesso here, a coat or paint there...). But finally, it was done!


She chose to paint her sculpture with a bright red acrylic paint (3 coats) and we finished up with a coat of Mod Podge to add a bit of sheen and seal it up. While the Mod Podge was drying, we used the opportunity to sketch the sculpture from a variety of angles and with a few different types of drawing media.

I brought out the very large newsprint I have and we practiced drawing BIG and loose trying to get the feel of the sculpture and the lines and movement with our sketchy lines. Some children have a hard time with being "sketchy" with their drawing--a few timed drawings (each about 2 minutes) and some vine charcoal usually loosen them up.

We then tried sketching the sculpture from other angles working with charcoals and conté crayons in various shades of grey, black and brownish-reds. Some of the media lent itself to sketchy, loose drawing (vine charcoal and traditional, chalky, pastels), while other media allowed my student to create hard edges. I really stressed that these drawings were just sketches--they needn't be museum-quality--the more you draw, the more you learn.


This was also a wonderful project to discuss value and contrast and perspective (the base of the sculpture needs to "lie flat" in the drawing. This was a great lesson and the results were wonderful! ENJOY!

Friday, March 16, 2012

One Point Perspective Paintings

The focus of this year with my home school art class is art from the 1500's-1700's. One of the things I really wanted to teach them about was perspective, but I felt like a couldn't quite find a project that would work for 2nd-5th graders that wouldn't turn into a circus! So I put it off and put it off, but then I saw Natalie's project on one point perspective at the blog, "SmArt Class," and I thought, "This just might work...."


This student has lots of lovely details in her picture!

Well, I'm happy to say, it did! The first week, I showed the students some examples of paintings with and without perspective in them. Then, I walked the students through a guided drawing exercise using Natalie's step-by-step instructions so I didn't miss anything.

The second week, the children finished their pencil drawings (most of them were still drawing windows on buildings) and added details for interest. Then they used Sharpies to ink their drawings. When done, they used erasers to remove their guide lines. I gave a demo on using watercolors properly. Rules I shared were:

  • proper brush technique
  • no splashing the water
  • dabbing brushes dry on paper towels
  • no scrubbing the brush
  • how to create areas of color by using gradual washes of color, etc...
Most of the students were able to start their painting on week two.

The third week, students continued to add color to their pictures with watercolors. Everyone finished up by the end of this class.

The students were very proud of their pieces--they kept saying things such as, "It really looks like you can go down the road!" I was very happy I tried this project with my students!

Love the bridge and the car in this one!


Even the youngest students in my classes really got into this project!


Related Posts Plugin for WordPress, Blogger...