Showing posts with label tone. Show all posts

Monday, February 4, 2013

More Miros

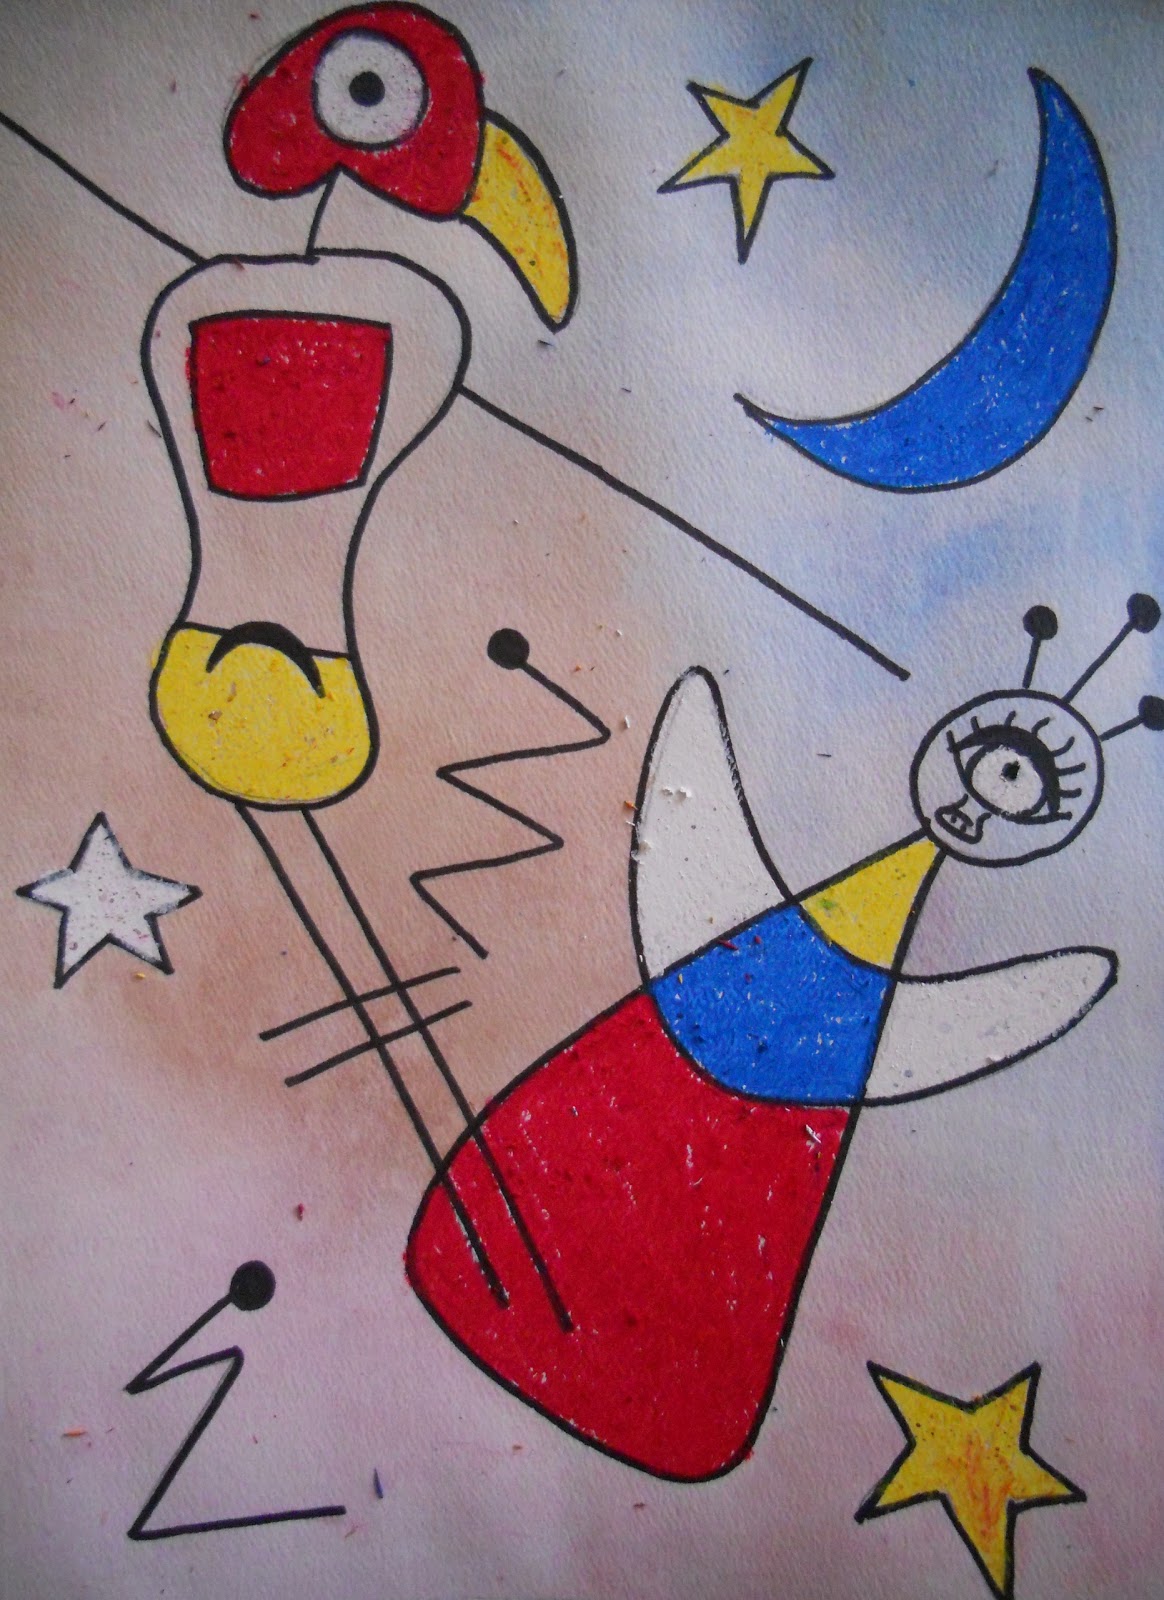
Last Fall I posted a Roll-a-Miro project. I just did this project again with my after school Modern Art class and here are the results--ENJOY!

P.S. If you have been thinking about doing this project but haven't yet, please do! The children really have fun with it!

P.P.S. The link to the Roll-a-Miro chart on Pinterest is here (I haven't been able to find the original source for this):

Creatures From Smoo 57

The Angels of the Ocean

The Angel of the Sky

The Amazing World of Squiggle

The Animal World
The Evil Squidwards

Wednesday, September 19, 2012

Fun With Juan Miro


I just did a fun project with one of my private art students where we looked at the fanciful art of Juan Miro. 

"Midnight Masquerade" Inspired by Miro

His artwork is made up of cartoon-like creatures and has limited colors, but the colors that are used are bright. It can be hard for a child, who is used to drawing from life, to break away and surrender to drawing squiggles and weird shapes, but it's a wonderful exercise in letting loose and having fun with art. In order to free us up so that we didn't draw anything too recognizable, we used a chart and rolled a die to randomly choose the elements that would appear in our pieces. This is the chart I found on Pinterest and it doesn't link back to any site (SIGH). I hate that! If anyone knows where this chart came from, please let me know so I can credit the creator.

When creating the piece, I had my student focus on composition and scale. The figures in our drawings did not have to be the same size, but she chose to make them that way. I think I would suggest, in the future, that the student create two to three figures (their choice) but one had to be larger than the others. I think that would make the piece more visually interesting and we could talk about how the size of the figures affects their relationship to one another and to the space.

As we worked we came up with a story about these creatures and what they were doing. This helped later on when we selected colors for the accents and the background.

We then inked the figures with Sharpies and added spots of color with bright oil pastels. This was a great opportunity to talk about balance and make sure bits of color appeared throughout the piece. We then finished the pieces off with multi-colored watercolor washes. We talked about tone and how the color choices in the background could reflect mood or time of day. For example, a piece that takes place at night might have cool, dark colors whereas a piece that depicts a happy moment may have bright, warm colors. We then made up great desciptive titles for our pieces and wrote them on the edge of the work.

Miro is not for everyone, but it was fun to try something different and fanciful! Enjoy!

"The Wizards Making Magic in the Night"
by my student age 9

Tuesday, March 20, 2012

Complementary Color Crazy Quilts

This amazing "quilt" was done by some of the students in my home school art class. This past summer, I picked up a book called, "Using Color in Your Art!" by Sandi Henry. I LOVE her books--they are always full of wonderful, kid-friendly projects! One of the projects she calls, "Dancing Stripes," is really a  lesson in complementary colors and color mixing. It reminded me of a crazy quilt square so I thought my home school students would enjoy making these and then we could group them together at the final art show for an amazing art piece.


I began by showing my students some books I have on quilting (both traditional and "story quilts"). I also had a beautiful poster of crazy quilts that was perfect to show them. We then created the pieces using acrylic paints on canvas boards. One of the parents had donated three sets of acrylics to the class, so I was able to introduce "real" paint and canvases to the children. The children enjoyed mixing primary colors to achieve secondary colors and then mixing the complementary colors and watching an array of earth tones and neutrals appear.

I think the final pieces came out great and it allowed me to teach the children how to use acrylics  as well as color mixing and brush techniques, but I think that next time I may structure the class a little differently. Here are my tips:


  • If the children you are teaching are young, use tempera paints instead of acrylics. Color mixing can use A LOT of paint when kids are doing it. Ours were donated and grown-ups are in charge of dispensing paint in my classroom, so we could monitor it a bit.
  • Begin with a color wheel. I teach 2nd-5th graders in my class. The older kids had a good grasp of the color wheel, but the younger ones weren't as sure. Have the children do a color wheel before or along side their canvas. 
  • Sandi Henry suggests breaking the canvas into four sections: 1 for each primary color and one for black and white. I'd only stick to the primaries. My younger students got confused dividing up the canvas into so many sections.
  • Maybe work in some "hands-on" color mixing. I thought that next time I may break the students into groups and have them mix secondaries in plastic bags and then squirt the resulting color onto a palette for the group to use. It might pace the class better and the older students could help the younger ones. Plus, everyone loves squishing paint in a zip top bag!
  • Have better definitions of color terms as well as examples where artists have used complementary colors in their work. I want the students to understand WHY color mixing and color theory is important.
  • I may use different sized canvases next time. I had wanted to display these as a "quilt" all linked together. One idea I saw online for displaying artwork like this (that would have been perfect) was duct-taping zip-top bags together at the seams to create a quilt. Each baggie forms a reusable "pocket" for a child's artwork allowing the teacher to display the pieces together as a unit and change them out when s/he likes. HOWEVER, the 9x12" canvases I used won't fit in standard-size baggies. Maybe 8x10" canvases would work (gallon size freezer bags are roughly 10x10"). SIGH. 
I will certainly do this project again, but I'm going to try some tweaking to make the process easier and hopefully more understandable to the children. Ah...live and learn!
Related Posts Plugin for WordPress, Blogger...