Friday, April 22, 2011

Last Minute Bunny Basket & Filler Ideas

No art class for me this week--the cooperative is closed for Holy Week (Easter is this Sunday). I thought this would be a great time to write about some of my favorite artsy gifts to help out with filling those Easter baskets! Come on--one cannot live on chocolate alone!

My theory on Easter baskets and the like is to buy consumables that can be eaten (Peeps candy), used up (a suncatcher kit) or added to what we have (markers) with little impact. With four children, I have WAY too much stuff! While I'm sure you already have a list of candy for those Easter baskets, here's a list of some other stuff to make your children's Easter baskets shine!
  • Basic art supplies (crayons, markers, watercolor paints, glue sticks, glitter glue)
  • A new sketchbook (spiral bound)
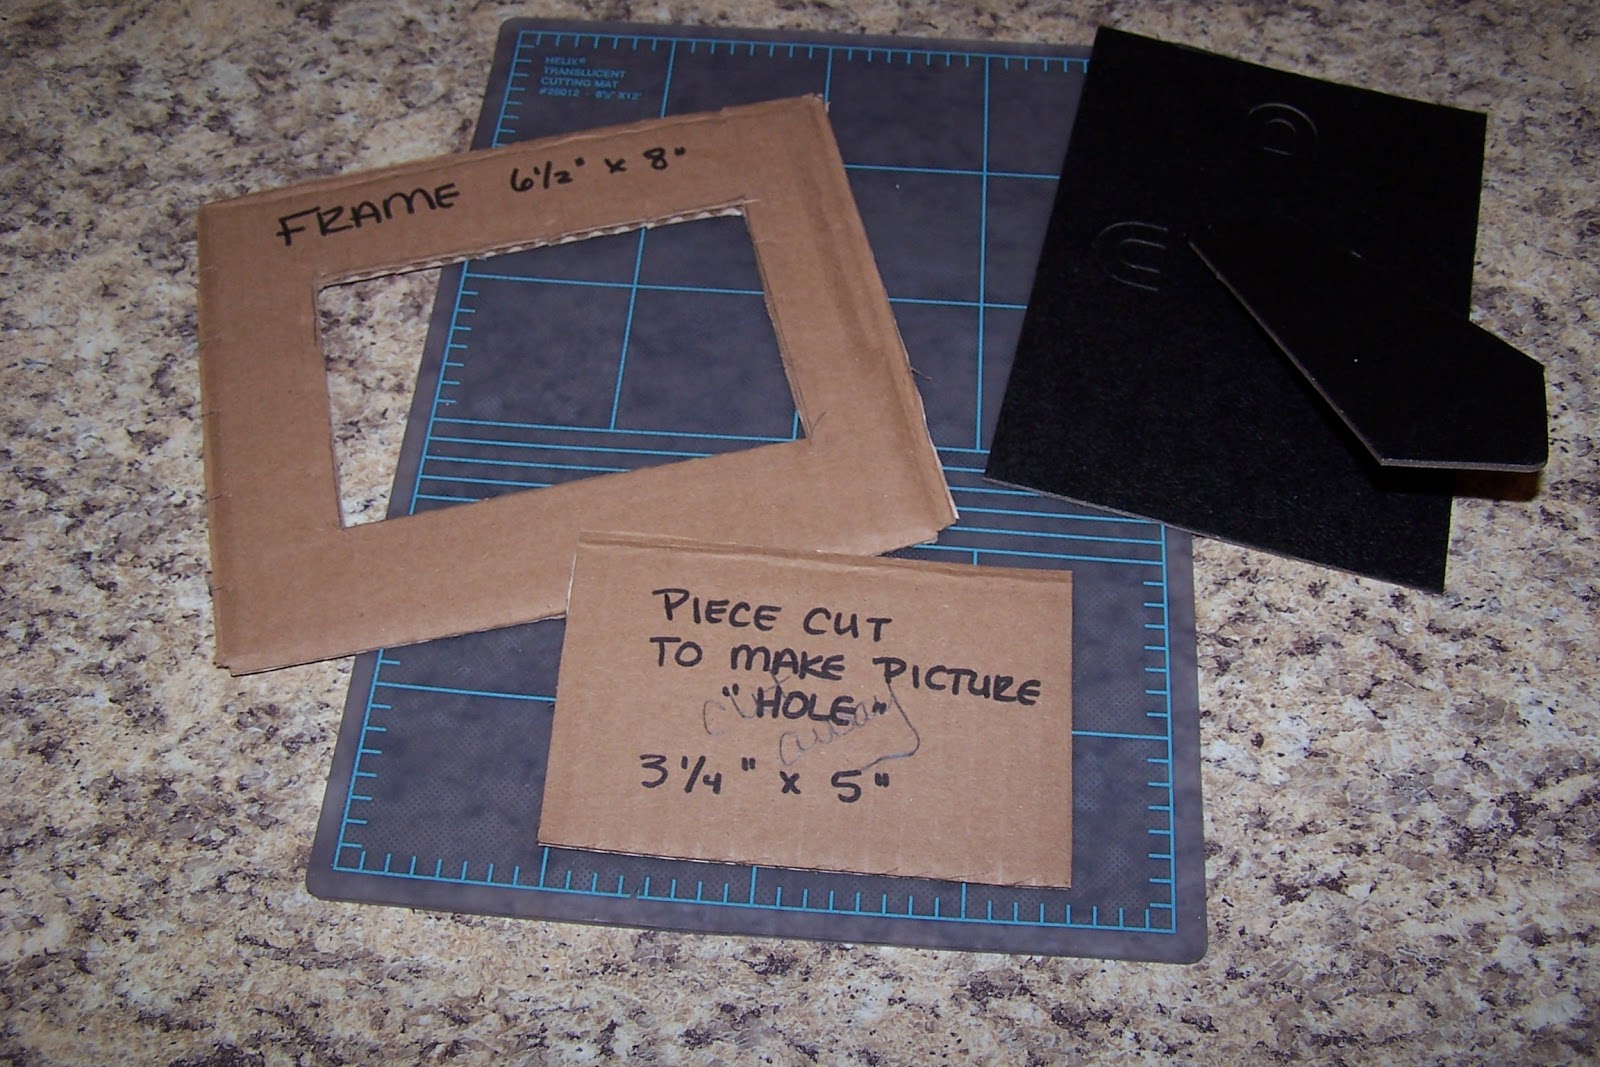
  • Mini art kits (make your own picture frame, a suncatcher kit, paint your own pottery, a scratchboard kit, etc.)
  • Origami paper
  • A disposable camera and scrapbook kit or supplies
  • Beads and cord to make a necklace, bracelets, etc.
  • Dover art books--Dover makes a series of mini-books that have mazes, paper dolls, sticker books and more--these are so fun and there is one for every interest! (Buy these online or at book stores).
  • Klutz makes a line of books that foster creativity and come with the supplies needed to create the projects in the books. They have doodle books, window art, pom pom creations and so many more! These books are more pricey (about $15-$20 each), but for older children, one of these books and a couple of candies might be the Easter gift.
  • Yarn and crochet hooks or knitting needles
  • A bucket of air dry clay or play-doh (or you can make your own)
  • Stickers
  • A mini notebook, ruler, and mechanical pencils (for the future draftsperson!)
  • Pipecleaners and googly eyes to make critters
  • A big pack of construction paper
  • New scissors--either straight edge or with decorate edging
  • Sidewalk chalk for outside doodling
Have fun with the "basket" as well--it doesn't have to be traditional! You can use a pail, an art caddy or plastic tote with handle (see the post about art supplies to have on hand). A canvas totebag is also a great "basket" and the child can decorate it as a project as well. One of my girlfriends said that she saw premade baskets made from an upside down sunhat. You can often find plain colors of these and paired with a set of fabric markers, you have an easy project your child will love!

The bunny basket idea below, is a wonderful preschooler craft (or for anyone who is young at heart!). This is not original, it is just the version I improvised with my four-year-old the other day. Excuse the photos--it was difficult to take nice photos while doing the project with a four-year-old! He's very proud of it though--he shows it to everyone who walks though the door!


Spring Bunny Basket

Supplies Needed:
  • A one gallon milk jug, washed and dried
  • A sharpie or other marking pen
  • Scissors
  • 2 Googly eyes (about 3/4"-1" diameter)
  • Glue dots, tacky glue or a hot glue gun and glue sticks
  • 3 pom poms (about 3/4"-1" diameter), 1 pink and 2 white
  • 3 pipe cleaners (any color)
  • Scrap cardstock, white
  • Pencil and eraser
  • Crayons
  • Stapler
Directions:

1. You'll want to start by making a hole at the top of the bunny basket for all of those Easter treats! We left the handle of the milk jug on so that my preschooler could carry it around for an Easter egg hunt. Use the photo below as a reference. A grown-up should use scissors to carefully cut the milk jug.
The cutting line is marked with Sharpie.

2. We then used glue dots to glue on the googly eyes. I like to let the children glue them on because I love the cute expressions that are created when the kids glue the eyes on askew! So cute!

3. I then cut a set of teeth out for the bunny and had my son glue those on using glue dots.

4. I then cut a small slit (about 1/2" long) on either side of the teeth and we threaded all three pipe cleaners through the slits to create whiskers.
The pipecleaners are just fed all at once through two slits--one on either side of the bunny teeth.

5. Using the glue gun (a parent's job), I attached the pom poms to finish the bunny's face.
Awwww....look at that cute bunny face!

6. I then cut two ears out of cardstock and drew an inner ear shape inside of them. My son got busy coloring them in, and then we attached them to the back of the bunny basket with a stapler (he helped me and thought that was the best part of the entire project!).
Not perfect, but what do you expect with a 4yo breathing down my neck!

Rainbow colored ears!

This basket could be done up much more fancy then we did it. You could add a bow tie for a boy bunny and flowers and bows for a girl bunny. Don't worry if you don't have the exact supplies that we used here--using what you have on hand is a great way to teach children how to reduce, reuse and recycle. Enjoy this simple craft with your child!

And, when it's time to help the Easter bunny fill your child's Easter basket--have fun! Helping your child to "spring" into creativity can be easy!

Have a wonderful and joyous Easter! Welcome Spring!

Friday, April 15, 2011

Medieval Metalwork

This week, in my art class, I showed the children how to do a simple technique that looks like aged metal. The children created frames and crosses and then added faux gemstones for a little sparkle!

Jewel-encrusted antique metalwork frame.

This year's art classes are all about Medieval times. We've done shields with coat-of-arms, marionettes of kings and princesses, stained glass dragons, and many other projects you'll soon be seeing in this blog (one day at a time!!). This week, I decided to have the children do a project that simulates metalwork. I was thinking of those large, heavy covers of illuminated manuscripts that were pieces of wood covered with tooled sheets of gold and inlaid with real gemstones (see below). Since my budget is a bit more limited than that--I thought we could use tin foil and plastic gems from a craft store.

Background Information:

Since medieval manuscripts would take many years to create and often were the life's work of many of the artists, the covers of these books were often just as elaborate. The covers were often a plank of wood covered with gold, jewels, enamelwork, precious metals, and ivory. One such example of this type of ornate work is the cover of the Lindau Gospels entitled, "Crucifixion with Angels and Mourning Figures." This piece is from The Pierpont Morgan Library in New York.

The cover from the Lindau Gospels uses a technique called repoussé "a technique by which metal reliefs are created. Thin sheets of metal are gently hammered from the back to create a protruding image. More elaborate reliefs are created with wooden forms against which the metal sheets are pressed (Art History: Volume 1, by Marilyn Stokstad, 1995)."

The project below is very similar to this technique. Enjoy!

Supplies Needed:
  • Corrugated cardboard cut into a frame shape (6 1/2" x 8') or a cross (a 3" x 7" piece of cardboard glued to a 3" x 11" piece of cardboard)
  • Self adhesive foam letters and shapes (optional)
  • Yarn
  • PVA glue (I use Elmer's glue)
  • Paintbrush
  • Water bowl and water
  • Scissors
  • Aluminum foil (standard household foil is fine)
  • Clear tape
  • Black tempura paint
  • Paper plate for a palette
  • Facial tissue
  • Glue gun and hot glue sticks (optional)
  • Plastic jewels (I bought mine at Michael's--they had a value pack of 1pound of "bling")
Directions:

1. If you are creating a frame, think about which way you'd like to have the picture displayed. This is important if you are doing lettering on your frame.
Here you can see the cardboard piece I'll be using for my frame as well as an easel-backed piece of cardboard from an old frame that I later glued onto the finished frame. That part is optional,

2. Create a design on the cardboard frame (or cross) using self adhesive letters and shapes. Words and phrases such as, "family," "best friends," "love," or your last name work well. You can also use yarn for the letters and shapes (and also for lines). Put a line of glue onto the cardboard and then gently press the yarn into it. Keep your design simple.


3. Once you have your design done, brush a thin coat of white glue all over frame. You can brush right over the foam shapes because the adhesive on the back of the shapes is nice and strong, but go gently over the yarn. You will want to go along the edges of the yarn you have glued down so that you don't mess up your design.
My design is done. Now I can brush white glue over the entire design.


4. Take a piece of foil that is slightly larger than your piece and gently crumple it--not too much or it will tear when you open it back up. Open the foil back up and smooth it a bit. Now lay it onto the frame over the glue on your design. Press gently all over your design, around the letter and shapes.
Gently smooth the foil over the design. Press gently around the yarn and foam shapes (if using). Be careful not to use your nails, since the foil will tear easily.


5. Flip the piece over and tape the extra foil to the back of the cardboard. If you are doing a frame, you'll need to gently cut an "x" in the foil in the center portion of the frame and fold back the foil there (and tape it to the back of the frame) so that you'll be able to see the picture in the center of your frame.


6. Now comes the messy part! Squeeze a bit of black tempera paint onto the paper plate. Dip your paintbrush into water and mix it in the paint to thin the paint a bit. Brush the thinned tempera paint over the entire front of your frame.


7. Now....wait! Leave your frame to dry for 10-15 minutes. While it is drying you can draw a picture to go in your frame. Will the picture be of your family? A pet? A medieval scene with a knight and a dragon?

8. Once the time is up and your paint is not quite dry, gently buff off the paint with a piece of facial tissue (it may take your piece a bit longer to be ready to buff--the paint should be "almost dry"). The more black you leave, the more "antique" the frame will look.


9. Use a hot glue gun, white glue, or tacky glue to attach jewels to the frame.
I live this tacky glue in a squeeze tube!

10. Attach your picture to the back--and you are ready to display your medieval work of art!

Variation: Easter is a wonderful time to do this project and create a cross! This technique makes a beautiful cross that looks unique. It is a nice project to do as a family--certainly a conversation-starter on many levels! Enjoy!
The same technique can be used to create a cross. I left a good amount of the paint on the edges to give this cross a very old feel. This picture doesn't do it justice--the jewels really shine and add sparkle. This would also be a nice gift idea.

Wednesday, April 13, 2011

Gargoyles in Clay

Last week, with my art class, I thought it would be fun for the children to create gargoyles from clay (carving seems too messy and frustrating). I brought in a variety of pictures of gargoyles for them to look at. We were all surprised to see that gargoyles didn't have to be scary. Modern gargoyles can even be kind of cute, or look like a real animal or person (not a "horrible, unreal creature of the imagination"), and some even tell a story.
Sea turtle gargoyle. This has a gutter on its back. Note the baby turtle hitching a ride!


Background: 

What makes a gargoyle? Well, gargoyles are carved grotesques with a spout used to divert water away from the side of a building. The water usually exits through the mouth, but sometimes there is a gutter on top of the gargoyle instead. If the figure doesn't divert the water, it is not technically a gargoyle, but more of a "chimera."

Gargoyles have been used for thousands of years and in a variety of cultures. The word gargoyle means different things in different languages. The most common being: "throat" or "gargle" and the Dutch call them waterspuwer which means "water spitter" or "water vomiter." Pretty cool visual, eh?

I brought some pictures of gargoyles for the children to see. I also brought in the book, "American Gargoyles: Spirits in Stone," by Darlene Trew Crist. This book has many wonderful, clear images of a variety of old and new gargoyles along with the stories behind them. With this book, I was able to show the children a bird's eye view of a gargoyles and show them the mortar between the building stones (water erodes this mortar--hence the need for the drainage spouts). There were examples of scary gargoyles and friendly-looking gargoyles as well as an image of the gargoyles at work--one with water spewing from its mouth. Since the children in my art class are very interested in turtles, I showed them a picture of the "Weeping Sea Turtle (p.71)" and we discussed how gargoyles can tell a story.

I also borrowed a couple of other books from the library about gargoyles, but left them at home since they weren't completely appropriate for the children to be viewing.

"Holy Terrors: Gargoyles on Medieval Buildings," by Janetta Rebold Benton is also a stellar resource on gargoyles. This book also contains many clear pictures of a variety of gargoyles along with interesting text and an extensive bibliography, but some of the images contained nudity. Since I couldn't leave this book out for the children to peruse, I just left it at home.

"The Gargoyle Book: 572 Examples From Gothic Architecture," by Lester Burbank Bridaham was also left at home due to some nudity, but is an interesting resource of black and white images of gargoyles, Chimeres, Heads, and Woodwork that may be inspiring to the older student. The text is brief, so this is primarily a visual resource.

When doing the research for this project I read about a modern-day gargoyle that I had to check out: Darth Vader on the Washington National Cathedral. I went to the site, searched, and lo and behold. there he was! The piece was designed by Christopher Rader as part of a contest. The piece (not actually a gargoyle since it doesn't direct water) was sculpted by Jay Hall Carpenter, carved by Patrick J. Plunkett, and placed high upon the northwest tower of the Cathedral. I had to show the kids that one!

Before I handed out the materials for the project, I suggested that the children think not only about what creature they were going to create, but think about what type of building it would be on and if it their gargoyle or grotesque would visually be telling a story.

Supplies Needed:
  • Paper mat to work on
  • Hunk of clay (I used Crayola air dry clay in gray-I used two 5lb. buckets for my 12 art students and my demo)
  • Tools such as a plastic knife, toothpicks, a plastic drinking straw and a roller
  • Meat trays for transporting the finished pieces home
  • Paper towels and water for cleanup
  • Books on gargoyles and reference books on animals, dinosaurs, etc.
Directions:

After discussing gargoyles (their function, the different designs, etc.), give each child a hunk of clay about the size of a softball. The clay should be kneaded a bit before starting to work. Have the child create a sculpture of an animal or person (real or imaginary). If it is to be a true gargoyle it should have a hole through its mouth (some of the children in my art class just made the mouth open and some made more of a tunnel going through the clay. I think it depends on the the child's wishes and their ability in working with the clay).

Thin pieces will break off when dry, so the child should be encouraged to make pieces that are at least 1/8" thick (but 1/4" thick is even better). Don't forget to add texture and detail to the piece such as scales, hair, etc.

Is your gargoyle telling a story? What elements can the artist include to help us to "see" the story? In my example, I included the turtle's eggs, a baby turtle, some seaweed and the water, so that viewers could see the life cycle of a turtle and its habitat.

Have fun with this! Gargoyles don't have to be scary! Although....scary gargoyles are cool too!
The sea turtle gargoyle from above. One side has the eggs and seaweed, the other has a baby turtle. The wavy things on either side of the shell are ocean waves (looks nice and makes the sculpture less breakable).

Tuesday, April 5, 2011

Fostering Creativity: Supplies to Have on Hand

I'm in love with art supplies. I consider walking up and down every aisle of an office supply store, craft store or fabric store "quality time." At the beginning of the school year, when department stores have bins and bins of pencils, crayons, etc.--I get giddy! But, ahem, I guess that is not the norm.
This is the art bin we use at home. My oldest three children share it and it stays on the art table all the time.

Throughout my years of being a mom I have encountered many a parent who says, "Oh we do not have (fill in some basic art supply) in our house--it's too messy." I first encountered this when my first son was about three and one of my mom friends said her toddler was driving her crazy (she had a new baby and was short on sleep and patience). I suggested bringing out the crayons and letting the toddler go to town. My friend told me she had never let her two-year-old use more than one crayon at a time. Why? Because it was too messy and she might "get into trouble."

Was this an isolated incident? I guess not. I'm often told by parents and children that they don't have watercolors, colored pencils, etc. at home. I've found that with my children, just having a space with art supplies available gets them thinking creatively. In fact, we just came off of a very prolific watercolor weekend in which my three older children must have created 20 pictures!

Here are some thoughts about fostering creativity by simply having art supplies available to children:

1. What is age-appropriate for your child and household? If you have a two-year-old and a baby crawling around, then maybe the art supplies stay in a bin and come out when mom is prepared to sit with the child who is creating (maybe when baby is taking a nap?). If you keep the "approved" art supplies for your child in a bin, you can bring it out quickly and put it away quickly. Don't put all of your art supplies in this bin--only put the things that the child could use easily at one time (you don't have to out every coloring book, every sheet of stickers, the pom poms, glue and glitter all in there--you will be creating a cleaning nightmare and become frustrated). Have the basic supplies in the bin and have a cabinet or shelf out of sight for the other, special supplies.

2. Be prepared for mess. Young children do not use art supplies like grown-ups do. Some art supplies don't make a huge mess (like crayons and colored pencils--always buy washable!!). If you teach your children the rules about art supplies and remind them over and over that "crayons are for paper," someday you'll be able to trust them to use the supplies without making a mess. I have a child-size table that is well-loved and is called the art table. I still tell them not to draw on the art table, but if paint gets on it and stains the finish (as even so-called washable art supplies do), at least I don't have to worry about my dining room table. The art table is located in our kitchen where spills can be wiped up easily and bits swept up right away (if you let your kids do artwork on carpet, you are asking for trouble).

Since we have a crawling baby, I occasionally drag the art table a few feet to an area behind a baby gate. It's sort of an inconvenient place for mom to get around if I'm running upstairs, but it allows my four-year-old to play with dough without me having to worry that my baby is eating most of it!

3. Be prepared for waste. Well, no matter what the age of your child, they are going to "waste" art supplies. By this I mean going through endless amounts of paper just scribbling randomly or cutting it into little tiny bits over and over and over again....While this may seem wasteful to us as grown-ups, it has great value for children to do these things over and over. It is really forming connections in their brains and teaching them fine and gross motor skills. OK, so not every piece is worthy of being framed and being hung in a museum, but the process does have value to the child in terms of social, emotional and cognitive growth.

That being said, you need to know when to speak up and encourage using the supplies fully ("we use both sides of the paper") and when to let them go on a crayon or glue bender. This is also why I don't suggest putting all of your art supplies in  one basket, so to speak. If you set 5 bottles of glue in front of many children, they will use 5 bottles of glue! So, either bring out the glue when necessary, or leave a half-used bottle in the bin (and keep an eye out for glue dripping in your floors!).

There truly is a fine line here. You don't want your child purposely breaking crayons and refusing to use a piece of paper that has literally a dot-sized crayon mark on it, but think of the pressure on a little child to have to create a refrigerator-worthy masterpiece on every piece of paper! Or know that if s/he makes a mistake when experimenting that mom or dad is going to flip! Art supplies can be inexpensive, and they are meant to be used!

Bin Full of Art Supplies:

Remember, these bins are for most-used art supplies that are safe for your child to use on his/her own while you are nearby.

  • The bin itself. I show a variety of bin in the pictures, find something that works for your family and doesn't have too many areas for supplies to get lost. It should have a handle for a parent or child to carry and be easy for a child to put away his/her supplies.
  • A sketchbook. I like spiral bound sketchbooks because they lay flat. One for each child labeled with his/her name.
  • Crayons. I like Crayola brand. You can keep them in the box (hard to put away) or dump them in a yogurt cup for a more "grab and go" experience. A 24 count box is great.
  • Markers. I like washable Crayola brand. A package of 10 chunky ones is very versatile, but as children get older they may prefer the fine tip. If you have older children, you could put a Sharpie in their bin.
  • Colored pencils. Crayola is good for a start, but older children might like a gift of Studio brand or Prismacolor brand colored pencils in a case.
  • Glue. I throw a couple of glue sticks in the bin when I'm feeling adventurous. Older children could use a glue stick and a bottle of Elmer's school glue (also called PVA glue). Skip this with very young children.
  • Scissors. Very young children can use scissors under supervision. Add in a pair of age appropriate scissors. As your children get older, you can buy scissors that create decorative edges on paper.
  • Regular pencils. Also called Number 2 pencils, these are a must for any child's art bin. Very young children will need to be supervised with them and you'll have to inspect the parts of the pencils to make sure they are OK for your little one to be around (toddlers like to chew on the pencils and erasers), but gradually, you can include a pencil sharpener in their bin. I also keep those rubber pencil toppers on hand to prolong the life of pencils whose erasers have been worn down by overzealous artists. These are not appropriate for children under three though due to choking hazzard.
  • Rulers. A standard 12 inch ruler is great. I have flexible ones because they hurt less when your brother smacks you with one and they don't break when the children practice their muscle man moves.
  • Watercolor Paint. I like Crayola for the very young and messy, but I prefer Prang for the older children. I don't usually keep these in the art bins since my kids make WAY too much of a mess with them and I like to monitor their usage, but if you have older children and they are neat, go for it!
This is a smaller bin and might be good for 1-2 children. This bin still holds plenty of art supplies!

This bin is easy to carry and can be stacked. This is a nice option if you need a few of bins spanning a variety of ages. Make sure to label the outside with the name of each child (or a picture of the child if they cannot read).
    Enjoy the finished art bins! Create, create, create! Or as Ms. Frizzle from "The Magic School Bus" series of books says,  "Take chances, make mistakes, get messy!"

    Sunday, April 3, 2011

    Watercolor Creatures

    This project is a natural progression of last week's technical watercolor demonstration. Children can use a variety of techniques they learned in the demo. I originally envisioned fantastical sea monsters, but the majority of the children in my art class painted turtles (they are a favorite of the children). We also had a shark, a really large whale engulfing a fishing ship, and a jellyfish. (For the demo below, I painted a turtle since one of my sons loves them!). Whatever creature you decide to paint--have fun!


    Supplies Needed (for each painter):

    • 1 piece of watercolor paper (I used 9"x12" Strathmore cold press watercolor paper from a pad)
    • 1 piece of heavy cardboard or foamcore board slightly larger than your watercolor paper
    • Masking tape
    • Pencil and eraser
    • 1 tray watercolors (I use Prang brand watercolors with my students--the colors are better quality than the dollar store/kid brands, 2 children can share a tray if necessary)
    • Water cup with water
    • Watercolor brush (The one that comes with the Prang set is fine, but don't use one from a cheap set, they are made of nylon and the results will be poor).
    • Ruler
    • Sharpie or other permanent marker (optional)
    • A drinking straw (optional)
    • Paper towels
    • Plastic wrap (optional)
    • Table salt in a cup or shaker (optional)
    • Crayons (I like Crayola brand)
    • Colored Pencils (Crayola brand or other good quality) (optional)
    • Reference books (Animals, Sea life, Shells, Dinosaurs, etc.)
    Directions:

    1. Tape the watercolors paper to the cardboard using masking tape.


    2. Using a pencil, lightly sketch a real or imaginary water creature on the paper. Don't draw too small since it will be frustrating to color and paint all of that tiny detail. Also, think about the environment of your water creature: is there a water line? a ground line? are there plants or other animals in the picture too?

    Don't forget to use your reference books if necessary. There is nothing wrong about having to look at a picture of a shark in order to draw one! Many of us cannot draw them from memory! Chances are, if you are using a photograph or a model, you will be less frustrated and your drawing will come out better.

    3. Once your sketch is done, use crayons over your pencil lines. This is the wax (or crayon) resist technique we learned last week, so you will want to press firmly with the crayons. You can use a variety of crayon colors, but do all of your crayon work now.


    4. Once the crayon is done, you can start painting in the areas of the painting. Remember, to let the paint dry before moving on to other areas so that the paint from different sections don't bleed into one another. In my turtle picture, I painted the sky first and then I painted the turtle. These two sections are far away from one another so I didn't have to worry about the paint bleeding between them as I work. I also suggest leaving the areas where you'll be using salt and/or plastic wrap until last since they can't be disturbed once they are done.
    First I painted the sky and then the turtle.

    Then I painted a wash for the top of the pond and applied plastic wrap.

    I then used the wet on wet technique to add a few different colors for the pond water. While the pond water was still wet I sprinkled some salt on it to create "sparkles" in the water.
    5. Leave your painting to dry overnight. Once it is completely dry, remove the plastic wrap and brush off the salt. At this time you can decide that your painting is finished, or you can use crayons and/or colored pencils to add a final bit of detail.
    Once the painting was dry, I used crayons and colored pencils to add some texture to the sky, another lily pad to cover a mistake I had made, and to add some motion lines in the water around the turtle's legs.

    What a masterpiece!! Enjoy!
    Related Posts Plugin for WordPress, Blogger...