Here are some of the projects from my long-term sub gig that appear in the collage here so that you had a bit more info on them...ENJOY!! For the background about where I've been/what I've been doing lately, scroll to the end of the post...
Grade 1 Art Projects From Fairgrounds Elementary School:
 |
| Here's lookin' at YOU! Check out the projects below for some first grade ARTSY inspiration! |
Week 1: Winter
Windows (1 day)
A getting-to-know-you
project.
We looked at the book, “Snowflake Bentley” by Jacqueline
Briggs Martin. Students folded their paper to make four “window panes” and used
crayons to draw four six-sided snowflakes (just like real snowflakes). They
then added watercolor to their work (watercolor resist) to add a colorful sky
(sunset, nighttime, etc.) and enhance the snowflake designs. The wet work was
sprinkled with salt to add texture and interest to the work.
 |
| A close-up of one of the "Winter Windows"-- this light yellow crayon was easier to see than a white crayon on white paper. |
Week 2: Aboriginal
Bark Paintings (1 day)
A continuation of a
project started prior to my arrival
Students used crayons to create mini circles within a photocopied
Aboriginal design. They then added a black tempera paint wash to their work
(watercolor resist) to enhance the designs. Finished pieces were mounted onto
construction paper backgrounds.
No image of these--sorry!
Week 3, 4 and 5:
Feathers For Lunch Collage (2-3 day) From Fine Lines
Inspired by the work
of Mrs. Pettus--that's ME! (I've been doing collage work lately) and the collage artist Lois Elhert and her book, “Feathers For
Lunch”
Students looked at the book, “Feathers For Lunch” by Lois
Elhert and used different shapes and papers to create a collage composition of
a cat and a bird. Details could be added using crayon and a real feather was
attached to represent the one that got away—just like in the book!
 |
| Our inspiration!! |
 |
| We talked about using shapes to make our cats and birds. We used real feathers and oil pastels for fun details. |
 |
| If a student wasn't in class the first week, they could make just the bird on week two. This student was fascinated by the hole punches he found on the supply cart. |
 |
| I love this cat's expression! |
 |
| The finished display I copied from Fine Lines Blog-- it was perfect, so I just had to do it! |
 |
| Here's the write-up that I displayed near the bulletin board- it really helps everyone to see all of the details of this project (as well as the National Common Core Standards in Art) |
Week 6: Line Study With Pastels (1 day)
The attributes of line were discussed (length and direction)
and then students took turns drawing different types of lines. Students then
cut out a shape of their choice (emphasis on something that moves such as an
animal or vehicle, etc.) and attached it to a piece of white paper. They used
Sharpies to drew eight different types of lines coming from their shape and
going off the edge(s) of their paper. Lastly, they used chalk pastels to trace
their lines and smudged them to add the illusion of movement to their work.
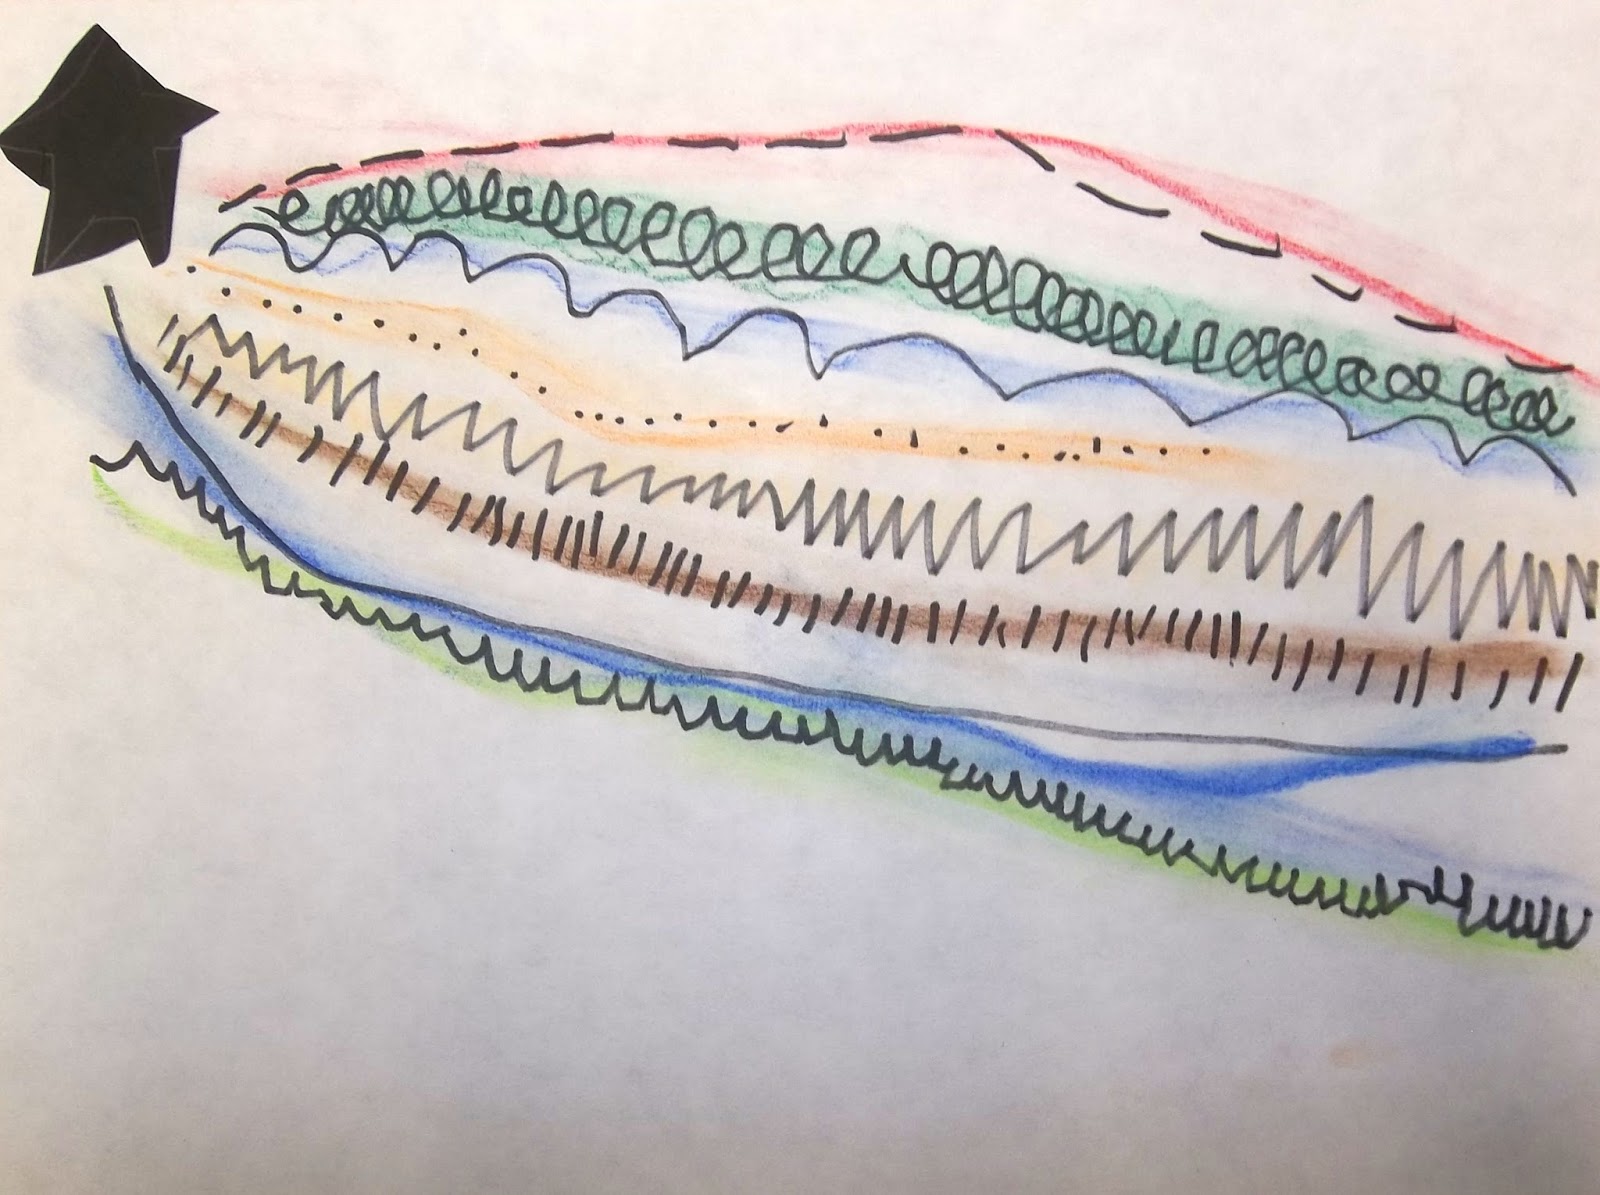 |
| Beautiful shooting star! |
 |
| Some students chose to have a limited color palette, but they still turned out beautifully. |
 |
| A flying airplane. |
 |
| And this is a football flying back and forth between players--LOVE it! We also had flying pigs, a giraffe or two, cars, superheros, a UFO, a couple of rockets, LOTS of footballs, a unicorn, some cats and much more! |
Inspired by Kandinsky’s color studies
Students used paint to create a composition of concentric rings based on the color studies by Kandinsky. Individual student work was displayed with other grade levels to create a multi-age group mural for the hallway.
 |
| A close-up of the individual 6" squares all glued together onto the larger roll of paper using Elmer's glue (a dot in each corner). |
 |
| The finished mural. Beautiful!! |
----------------
Backstory for this post:
So, it's been a busy Spring for me since I finished student teacherin' in December--I subbed a bit in preschool, kindergarten, elementary and high school and then landed a wonderful 6 1/2 weeks long-term sub gig at an elementary school nearby teaching art to grades K-5. What a blast I had--the students and staff at Fairgrounds rock and I was sad to go (it's hard to stop doing something you love when your next big thing isn't settled upon yet). Since then, I haven't blogged much because I've been daily subbing and working on my dang art teacher portfolio (more on that in a future post or ten). Check the sidebar (over on the right side of the blog) for other posts in this series (k-5 at Fairgrounds Elementary School). ENJOY!!


