My littlest guy turned 5! He's a firecracker, and he decided he wanted a shark party (mostly because he saw a shark cake dripping fake blood when I was browsing online). SIGH.
I was excited to make a shark cake, but the kids and I created a few other things for the party that you might like. I have
Pinterest to thank for many of them!
Many of these supplies can be found at the dollar store.
The cake:
My family loves to watch
the Cake Boss. I took cake decorating classes but the Cake Boss has really made me step up my cake decorating style! So, in true Cake Boss style, I shaped Rice Krispie Treats into the shape of a Shark's head, covered it with a light coat of frosting and then covered that with fondant tinted pink, white and grey. I added teeth and black bits for the nostrils and eyes. Then I put that on top of a 10" round of strawberry cake (little guys' choice) and covered the cake in bluish frosting. Voila! Great White lunging out of the water!
(I was asked "Where's the blood?" since mine was gore-free--Hey, I didn't want to freak out the four- and five-year-olds that were going to be in attendance!)
 |
Shark Attack Cake--Just like Little Guy Wanted
(OK, minus the blood) |
Decorations:
Shark jaws: Made from
dollar store paper plates! I couldn't believe this when I saw it! Easy, inexpensive and fast! And the kids LOVED them! We got many a picture of the kids holding scary shark teeth! I saw this idea on
www.dollarstorecrafts.com.
 |
Shark Jaws made from paper plates and view of the Table Runner
(After this photo was taken I set the table with plates and napkins, etc. ) |
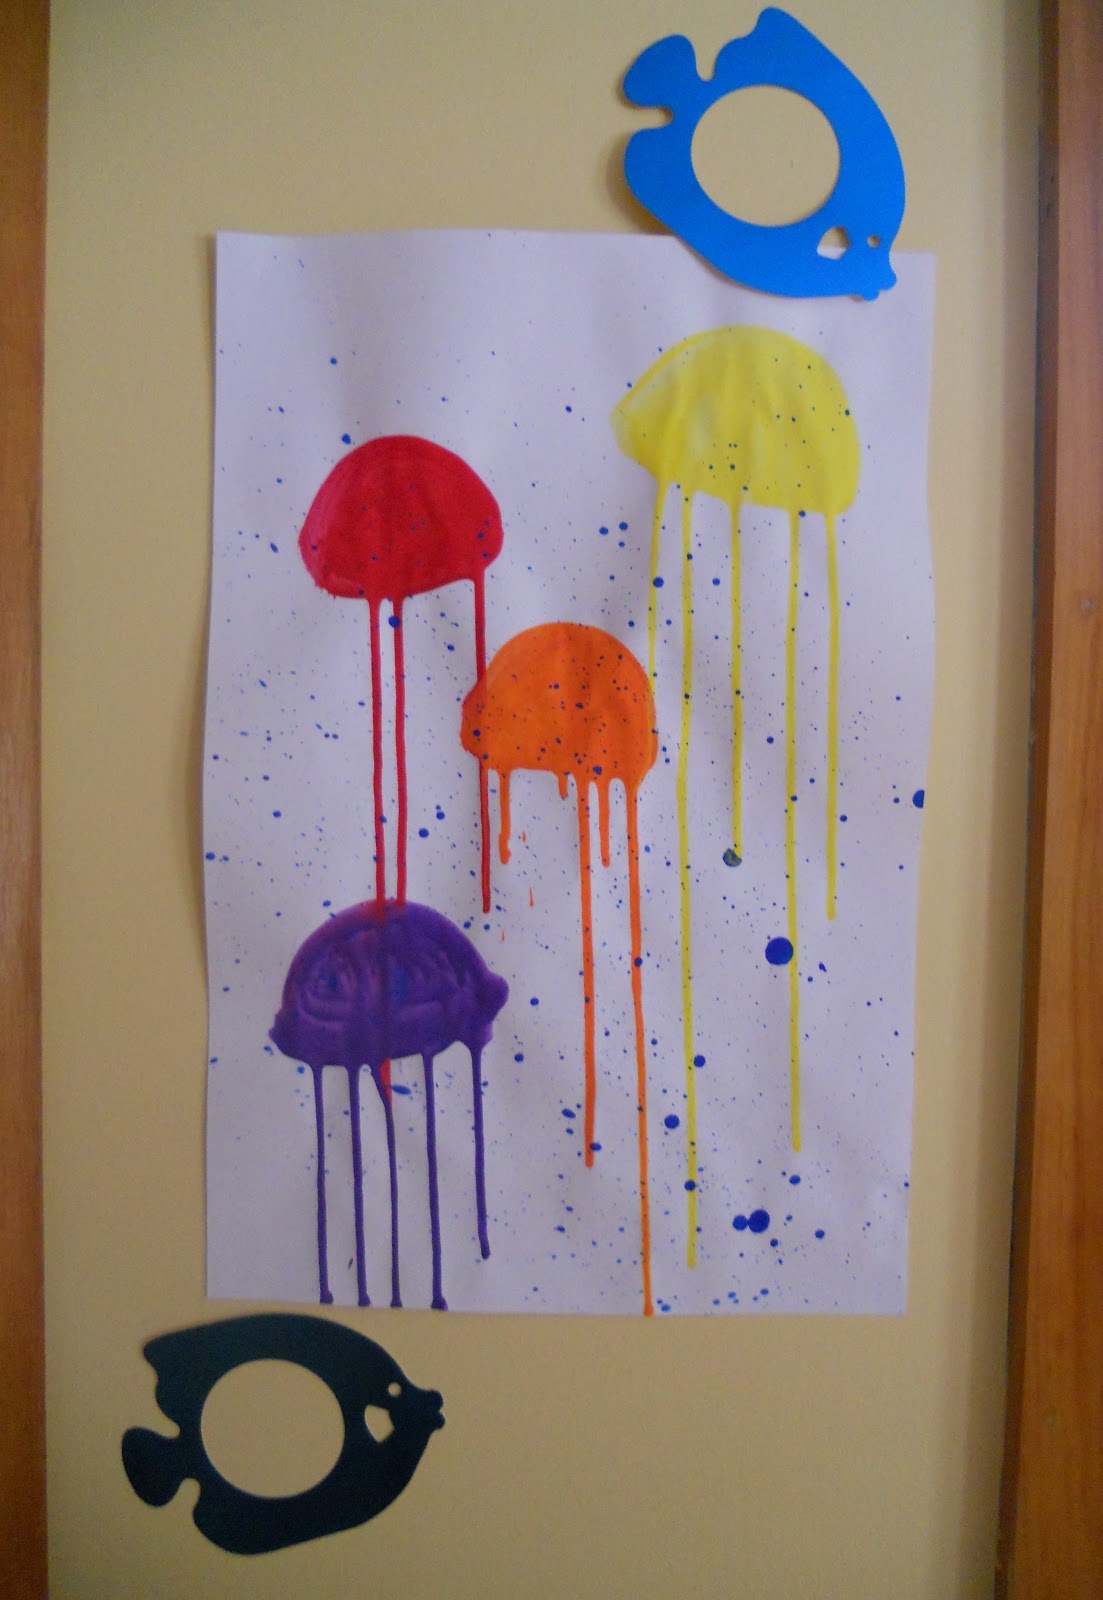
Wall art: I saw the jellyfish pictures on a favorite art blog of mine:
"For The Love of Art" and I thought they were so pretty. I made a few of them, hung them on the wall and added some
blue metallic fish shapes I bought at the dollar store.
 |
My version of the jellyfish pictures don't do this art activity justice--
go to "For The Love of Art" to see the originals. |
Table runner: We used tempera paints in a variety of colors with a big paint brush to make waves along a piece of paper from a roll. We then stamped on a few shark shapes cut from craft foam to give that "sharks are circling" effect.
Goodie Bags: I kept these simple since the children were making some crafts. I stamped a shark fin on the side of each and added blue "waves" from the scraps of the table runner. I then included a Star Wars coloring book (little guy's choice), a set of colored pencils, a couple of lollipops and a bag of Swedish fish (
all from the dollar store). I put each child's name on his/her bag and as s/he would finish a craft I'd pop it in the corresponding bag.
 |
| Printmaking and Eric Carle-inspired waves! |
Crafts:
Shark clips: I saw these on Pinterest originally and had to do them with the kids. They took no time at all and the children loved them (the four-year-olds as well as the ten-year-olds loved them!). I drew them on card stock, had the children color them in and hot glued them to clothespins (
card stock and clothespins are from the dollar store).
 |
| Easy to make and fun! |
T-shirts: OK, I didn't get the t-shirts from the dollar store, but I did get them from the craft store on sale for 4 for $10. I had originally wanted to have the children create shark t-shirts like one I saw in Family Fun Magazine years ago, but ran out of time to do the prep work necessary. So, I let the older kids design their own shark inspired t-shirts using clear contact paper and sprayable fabric paint. I purchased the
clear Contact paper at the dollar store and one roll was enough for 8 t-shirts. The older kids went with a "Shark Attack" theme with their shirts. For the little ones, I cut shark head shapes from the contact paper and the little ones got to spray and draw on their shirts with fabric paint.
 |
| A shark coming up from the deep to investigate a swimmer... |
 |
| This isn't going to end well... |
 |
This shows the empty shark cage and the shark with feet sticking out of its mouth.
YIPES! I assure you these are by well-adjusted children! |
And the "Rest of the Story..."
I was also able to get "Happy Birthday"-themed paper products
at the dollar store (cups, plates, napkins) as well as streamers, and balloons. They weren't "Shark"-themed, but were bright and colorful!
All-in-all I think the party went well! And little guy said he had a wonderful time hanging out with his friends!