Showing posts with label project. Show all posts

Wednesday, April 17, 2013

Inspired By Spring and Alma Woodsey Thomas

I posted a project idea about African American artist Alma Woodsey Thomas awhile back, check out the post here. Thomas was a art teacher for almost 4 decades, became a prolific Abstract Expressionist painter during her retirement, and had her first show at 80 years old! WOW! How inspiring!
Here's the group project: "Sunset Over the Ocean."
For my last Modern Art class with my homeschool kiddos, I thought we'd do a relaxed collage project based on Thomas' work. The children had fun and created some very beautiful pieces. It was also a great opportunity to use up all of those paper scraps I've been collecting all year!

When they were done their personal pieces, they could work together to create a group piece that will be on display at the Grande Finale next month. I love how the group project came out--so different than the one the group in the original post created (and I loved that one too!). Amazing!

Enjoy this one-day, earth-friendly project!

"Colours"

"Falling Fire"

"Falling Leaves"

"Flowering Meadow"

This one had a title,
but he wrote it after I took the picture!
I think the bits are falling stars...

"Color Wave"

Monday, March 4, 2013

Lung Project Done

Many of you read about my experience watching my son make a 3D plaster cast of his body for a science project on the respiratory system...well, the project is done (and he got an A+!). This was a great project from a mom point-of-view: the supplies were cheap, it allowed for TONS of creativity on my son's part, and he could pretty much handle the whole thing himself--oh, and it didn't chew up a entire weekend! He worked on it one Saturday morning (taking breaks to go sledding and visit with company). And he was super-proud of it! That's my kind of project!

So here are the finished picts. Hopefully it inspires you to try something new!


The details of the project (in case you were wondering):

The plaster cast was made using three packages of plaster tape bought at Michael's. The strips were about 4" wide and 8' long--we cut them to size (some 4" strips, some 8" strips and some 12" strips), dipped them in warm water, and then applied them to my son's body (make sure you coat the model's body with petroleum jelly before putting the strips on).

The dried cast was painted with leftover house paint my son found in our garage (I am worried I needed that paint, but c'est la vie!).

The red stuff (used for the nasal cavity, mouth, trachea, and bronchi) is model magic--I think he used one standard size package.

The lungs are sponges that he used scissors to cut into lung shapes.

The bronchioles are made from some leftover moss we had that he sprayed with red and blue spray paint (which he also found in the garage).

The whole thing is mounted on foam core (from the Dollar Store) that was covered in leftover colored paper. He also went crazy using the hot glue gun on this project.

Monday, February 4, 2013

Creeped Out in NH

I have realized two things this morning:

1. It is very disturbing to have a life size plaster model of your child lying on your dining room table.
2. I have a SERIOUSLY messed-up sense of humor. So much so, that this morning I sent two of my kids off to school a wee bit disturbed...

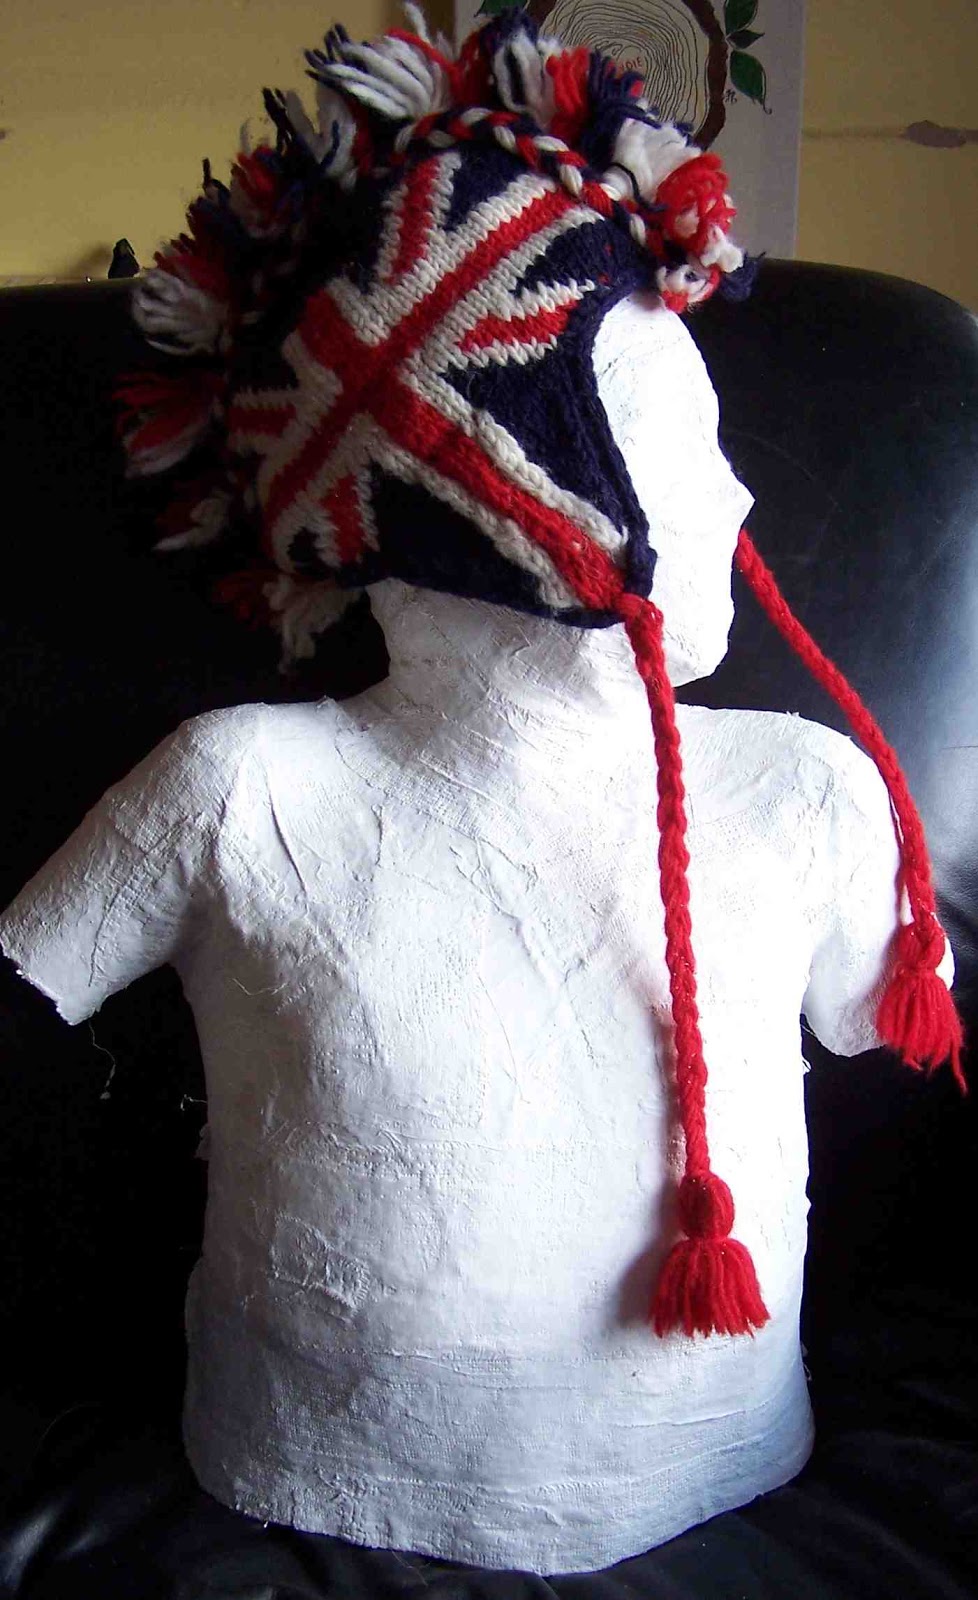
Model Son wearing Real Son's favorite hat...

My son, who is 10, loves to do projects for school--it is where he truly shines. He loves to come up with very elaborate ways to express his ideas and this creative thinking has caused us to explore all sorts of techniques that I probably wouldn't have thought to do with him: papier mache, carving styrofoam, soldering, cutting marshmallow Peeps (that's another story). Allowing creative freedom has its drawbacks, too. His model of the ocean floor cost about $50 to make even with coupons and discounts and some creative scrounging on mom's part. But, I want to encourage that creativity--it's great for him to craft something himself and make something he is proud of (and, who knows, he might become a model maker for George Lucas someday!).

Anyhoo, on to freaking out my kids...so I was worried when he came home the other day and said he said he had to create a 3D model of the human respiratory system. He had ideas. He wanted to sculpt the entire torso. He wanted it full size. He wanted it to be Model Magic (YIKES! My wallet just has a heart attack!!). I tried to use my powers of persuasion to get him to make it smaller (read: cheaper), but he said "no." He realized that creating a full size human form and then "cutting it in half and scooping out the insides" was going to be wasteful. I finally suggested paster tape--the stuff they used to use to make casts for broken arms in the "olden days." I explained the process and he was intrigued. I was worried.

We did some research on the how-to's and while he watched the Super Bowl last night, I layered the strips on him (I wanted him to do ALL the work originally and use a sibling as a model, but my little ones weren't into it and it was probably for the best--1st son says it was cold and freaky being in the plaster. However he did layer on the 2nd layer of strips and do all the art direction (which is hard to do when your face is covered in plaster strips).

But, I have to tell you, I was completely unprepared for the feelings I felt seeing my child in a full body cast...as I layered the strips up his torso and onto his head and face I felt so sad. We were laughing and giggling, but inside I was conflicted. So strange. The strange feelings were even more pronounced when we removed the cast. I cannot begin to describe the weirdness of seeing a life-size model of your child lying on the floor, or, as it is now, lying on the dining room table. Very strange.

It wasn't until this morning, when my son and I were discussing the weirdness of it all, that I revealed my creepy side. I told him that I should have taken his iPod and snapped pictures of the model doing all sorts of things around the house: watching TV, wearing my son's mohawk winter hat, driving the car--I just couldn't stop myself--I rattled off a list of things that Model Son and I would do while Real Son was at school. I realized the creepiness when Real Son looked at me with one eyebrow raised...he was laughing, but in that "if-I-humor-her-maybe-she'll-stop" kind of way.

I later related the story to son #2 and he also was a little wary. Especially when I told him I thought it would be funny to paint the model with glow in the dark paint and hang it upside down in his closet to scare to bejeebies out of him at night. Seriously, that would be AWESOME!!

So, when I get the calls from the school counselors today I will know why, but I think I'll let my husband talk with them. I think I might make the situation even worse!

Model Son, do you want to watch Downton Abbey? Hmmm?
I'll take your silence for a "yes."

Friday, October 19, 2012

Last Minute Fall Projects For Older Children

I've been traveling all over these last couple of weeks enjoying some time with kids of all ages! I have been carrying around a couple of projects for my older students to do once their class projects have been completed. Two of these projects are self-directed and able to be set-up, executed, and cleaned-up by the children themselves. Love that!

Both projects are VERY much worth trying. Take a few minutes and try them out yourself!

Leaf prints: a great project I saw online and tried with my older kids this week was one I saw on the blog Deep Space Sparkle. Paint leaves white and print on black paper. Use a sponge to print colors such as red, green, brown, yellow and orange in the negative space around the leaves. This is an easy, but striking, piece. For more info, check out her post here.

Here are some of my students working on the Leaf Print project
from Deep Space Sparkle--they all loved how they came out. Me too!

Symmetrical Leaves: I had a big bag of leaves I carried around with me these last two weeks. I used them for the preschoolers to observe and match, the Kinders made leaf rubbings from them, the Elementary students used them in the leaf printing project above, and my private art students drew them. We cut the leaves down the middle using scissors, glued the half leaves to paper and drew the missing half back in with pencil. This is harder than it looks! It was a great project to do during that transition time between projects or while another project dried.

The drawing on the right were done by my 9-year-old student.

Enjoy these easy projects that celebrate Autumn!

Wednesday, September 26, 2012

Fall-Inspired Matisse Cut Paper Project

This project was inspired by Matisse's La Polynésie. I saw a similar project on the blog Ms. Sortino's Elementary Art Lesson Plan Page (it seems this blog is now defunct).


We talked about different fall icons: pumpkins, apples, gourds, leaves, acorns and what colors remind us of fall: orange, brown, yellow, gold, red (and some said black).

We then created artwork combining those shapes and colors made entirely with cut paper and scissors (no drawing first). I told the children they could either place one object in each section of the background or make the shapes floating all over, like Matisse did. BUT, they needed to create at least 8 shapes and they needed to be different sizes: some small, some medium and some large.

This would also be a cute Halloween project, and could be done on a smaller scale (on a 9" x 12" piece of paper instead of a 12" x 18").

Fall-Inspired Matisse Cut Paper Project

Supplies Needed:

  • One 12" x 18" piece of construction paper for background
  • One 9" x 12" piece of construction paper for background
  • Scissors
  • Glue stick
  • One 12" x 18" piece of construction paper for border and shapes


Directions:

1. Fold the 9" x 12" piece of construction in half lengthwise and then again widthwise and cut on folds to create four equal rectangles. Glue to 12" x 18" background paper to create a checkerboard pattern.

2. Fold the other 12" x 18" piece of construction paper in half widthwise and, starting at the fold, cut about 1" away from the edge all the way around to create a border for the piece.

3. Glue the border to the background using a glue stick.

4. Use the construction paper left over from making the border to create the eight fall-inspired shapes for the piece. Attach them with glue stick to the center of the piece either one per box or floating all over the background.


Wednesday, May 9, 2012

A Quick Modern Art Project: Warhol

This past week's after school art class was great! We were able to get two art projects done in the allotted time and some children had a few minutes to sketch. Both of these projects are fun and colorful and easy to do. I've done them with preschoolers up through fourth graders and everyone seems to enjoy it! This time, I was able to show the children artwork from each artist and link the lessons to children's books about the artists. If you haven't checked out these books, please do! The first project is: Handy Andy's inspired by the blog Artolazzi.


For this project, I shared the book: "Uncle Andy's," by James Warhola. What a lovely book! This is written by a nephew of Andy Warhol and is told from the child's perspective. James Warhola talks about visiting his Uncle Andy at his studio and all of the interesting projects and people he sees there. I really like this book. It is interesting to look at the illustrations and see all of the fun details. The book also reminds me that children are like little sponges, soaking up info and inspiration from their environments. Warhola speaks about how inspiring it was to be surrounded by all of the art objects and artwork in his Uncle Andy's studio and being able to see the process his Uncle went through to create his art (note: I brought in one of the Marilyn Monroe series of paintings for the children to view--it had repetition and color that I wanted to highlight with the project below).

Handy Andys

I saw this project on the blog: Artolazzi and loved it. I changed it a bit to use bright papers instead of paint for the backgrounds to speed things up a bit. I used a bright pad of paper I bought at the local copy store (Staples) which was 50 sheets of 11" x 14" paper (5 bright colors) for about $5.

Supplies Needed:

  • 1 sheet of bright paper 11" x 14" for the background
  • 2 5.5"x 7" rectangles of bright paper (different colors than your background)
  • 4 5.5"x 7" rectangles of bright paper (assorted brights so that the hands cut from these papers are different than the backgrounds)
  • Pencil
  • Scissors
  • Glue stick
  • Black tempera paint
  • Paper plate for palette

Directions:

1. I had the students select one 11" x 14" piece of bright paper for their background. In the above image, my background piece is yellow.

2. I then had them select two rectangles (5.5" x 7" each) these needed to be different than their background paper. These were glued down to the background so that it appeared the background is divided into four sections. Use the photo as a guide. In my example, I used a blue and a green rectangle.

3. I then handed out stacks of four rectangles (each 5.5" x 7") of assorted colors that had been stapled together. I had the students trace their hands onto the stack and cut through all four at once with their scissors to create four identical hand shapes. Remove the staples, arrange onto the background and glue down using the glue stick. Glue the fingers down well so they don't curl off of the page.

4. Once everything was glued down well, I had the students come over to the printing station where they could dip their hands into the black tempera I had placed in foam plates and then print onto their backgrounds over each of the hand prints.

They came out great! The children had lots of fun with these and the bright colors really created an eye-popping display! These would be so nice for Mother's Day or Father's Day and they didn't take any time at all (maybe 30 minutes from start to finish).

Coming soon: Part two of this post...15 minute Jackson Pollock paintings!

Tuesday, March 27, 2012

Origami Butterfly Wreath for Easter or Spring

My family loves origami! So when I saw the directions for an origami butterfly on Pinterest, I knew I had to create a project that used them! So, here 'tis! This is a relatively simple and VERY inexpensive project that would be suitable for children grade 2 and up (the origami may be a bit challenging for a young one and the tissue paper can be time consuming).


The butterfly origami directions are from Go Origami. Many of the gorgeous projects on this site are too advanced for me, but the butterfly is easy enough.

Enjoy making this lovely wreath and bringing a bit of Spring into your home!

Origami Butterfly Wreath for Easter or Spring

Supplies Needed:

  • One paper plate
  • Pencil
  • Scissors
  • Elmer's glue
  • Glue tray (I used the lid of a yogurt tub)
  • Tissue paper in green (I used three colors of green for interest)
  • Three pieces of origami paper (or thin colored paper), assorted colors
  • Hole punch
  • Ribbon
Directions:

1. Trace a 5" circle in the center of the paper plate. Use the scissors to poke a hole in the center circle and then cut and remove the center circle so you are left with an outer ring of a paper plate. This is the base of your wreath.

2. Cut the tissue paper into 1" squares. I can't tell you how many squares you'll need, but you'll probably end up cutting WAY more than you need.

3. Pour a bit of glue into the tray. Take a 1" square of tissue paper and CENTER it over the eraser end of the pencil, smoothing the edges of the tissue paper around the eraser and pencil. Use your fingertips to HOLD the tissue in place and then dip the covered end of the eraser into the glue. Gently touch the tissue-covered eraser to the plate, and remove the pencil. The tuft of tissue paper should remain. You'll be attaching the tufts of tissue paper to the underside of the plate--not the side you'd eat on.


4. Repeat with additional tissue paper squares until the surface of the plate ring is covered. It helps to place the tissue paper tufts next to each other as you go--this will ensure that the wreath is nice and full and doesn't have any bald spots! If you are working with a younger child, you can work with him/her on this part. Many children won't mind the help and it's a wonderful time to sit and chat quietly with your child. 

5. Once the front surface of the wreath ring is covered with tissue paper tufts, use a hole punch to make two holes about 5" apart on the top edge of the wreath. This will allow you to hang the wreath up later. Set the wreath aside to dry.

6. Trim the origami paper so that one piece is 6 inches square, another is five inches square, and the third is four inches square. Fold into butterflies. Directions can be found here.

7. Attach ribbon to the wreath. Trim if necessary.

8. Use glue to attach butterflies in a pleasing arrangement. 


You're done! Welcome Spring!

**Another option to make this much easier for little ones is to reduce the size of the plate wreath. Making the wreath ring 5-6" across will be much easier for a single child to do on his/her own. Then adjust the size of the butterflies accordingly, maybe a butterfly made from a 5" square flanked by butterflies made from 4" squares. 

Saturday, February 25, 2012

Mosaic Snowglobe Project Results

This past week I had the pleasure of visiting Mrs. Bevilacqua's second grade class at Wilkin's Elementary School in Amherst, NH. Mrs. Bevilacqua usually does a themed unit that involves snow globes and I thought the children would also enjoy doing the snow globe mosaics from my blog.

All 17 snow globes! Beautiful!
The second graders were very enthusiastic and creative! I started with a revised worksheet and had the students use a limited color palette (10 crayons) so that they could easily match up the paper squares with the colors they chose for their pieces. It was a two-session project, but it went quickly and the children were very happy with the results (me too!).

The revised worksheet has different labels than before.
 It is a bit easier for the children to understand: S = Sky, R = Roof, G = Ground, etc.
They use this worksheet to plan before moving onto the actual gluing.
See the original post for "how-to" info.
A detailed look at one of the mosaic pieces.
This project was a great way for the children to explore math concepts relating to a grid (each child had 100 squares on his/her piece!) as well as exploring color choices and value (in order for the sections of the picture to be easily read, the student needs to vary his/her value and color choices), learn the art of mosaics and, even within the set parameters, there was a chance for choice and creative expression.

What a fun way to spend the afternoon! Thank you, again, to Mrs. Bevilacqua and her students for all of their hard work and energy!

NOTE: I used 5" x 7" canvas boards from www.dickblick.com to mount the finished pieces on (24 for $7 or so). I then added a border above and below the mosaics with navy grosgrain ribbon glued on with hot glue. When done, I attached a paper label with the child's name. I justified the expense because these are "keepsakes." 

If you had less time and a limited budget, you could enlarge the project to 10" square (each square of the grid is 1") and have students do this project on thin white paper paper using 1" construction paper squares and glue sticks. Skip the Mod Podge and mount the finished mosaic onto a piece of construction paper. Very inexpensive, but still great!


Related Posts Plugin for WordPress, Blogger...