Showing posts with label workshop. Show all posts

Friday, November 7, 2014

After School Printmaking Workshop

Yesterday I had fun experimenting with printmaking techniques with some 9- to 12-year-olds. It always amazes me how much fun students have with printmaking. I love it too!


We only had an hour and a half, so we began by doing a reductive print by slowly destroying a foam plate using tools that are easy to find around the house and studio: plastic knives, popsicle sticks, skewers, pen caps, etc. Students were asked to make two types of marks on their plate, print it, return and make more marks on their same plate, print it AGAIN on top of the first print, and then repeat one more time. We could have spent the entire class doing this one project, since some students needed time to "see" how things would turn out. Overall, they were pretty impressed by the beautiful layers that were created in their pieces.

When they were done that, I showed them how to use a plexiglass plate and add shapes and letters using sticky-back foam to make a relief plate. The students really went crazy with this idea and some created three plates in a short period of time. Most created their names or initials but some created trees, hearts, dragons and more.

Supplies we used for the workshop:

  • Foam veggie trays (don't use meat trays)
  • Found tools (mentioned above and hole punches, decorative scissors, etc--pretty much anything that will marks foam in a neat way)
  • Speedball printmaking inks (water soluble in red, blue, yellow, white, gold)
  • Speedball soft rubber brayer (roller)
  • Sticky-backed craft foam
  • Plexiglass scraps (do not use shatter-resistant)
Have a great day!

Tuesday, September 2, 2014

Creativity Isn't Dead!

Thank you so much to all of the parents who came out the week before school to attend my workshop on creativity--Reimagining Creativity: Building Creative Confidence in Your Kids!


First off, all of these people are incredibly brave! I described what we would be doing in the emails I sent out, but I was deliberately vague--I didn't want to spoil the fun we'd be having or have people feel it was going to go a particular way since I wanted to leave a bit of wiggle room so that I could adapt the workshop to what the attendees needed.

All of the attendees knew me and knew I am an art teacher, so there was some intimidation that they'd be making art in front of me and others (whom they did not know). They were afraid they'd be judged! How scary is that!? But they showed up anyway!

We did create some art, but that is because sharing art is how I express myself creatively. The main goal was to get the grownups thinking about how THEY are creative (everyone is, you know!) and how THEY could apply that creativity in their lives and in their homes, jobs, etc.

It was a success, and I can't wait to hear how these parents use the insight they gained in their lives with their kiddos.

Here's what some attendees said:

"What a wonderful evening!  Thank you!  I know you think I came for you… & I did… but I came to learn too, because I know you have so much to offer.  As you know, I don't consider myself 'artsy,' but from you I learned that is not the same as 'creative.'  Thank you."--P.D., Merrimack, NH

"Tonight was so great! Thank you for putting this together!"--J.M., Pepperell, MA.

"Excellent job tonight! It was so much fun! I am so glad I know you. Thank you so much."--S.H., Amherst, NH

Monday, January 13, 2014

Dollar Store Animation Class: Thaumatropes

So you'd like to create a series of animation classes for your students, but don't have much $$? No problem! I taught a 3 week series of animation classes for middle school students this fall that was full of information and inspiration, and didn't cost too much.
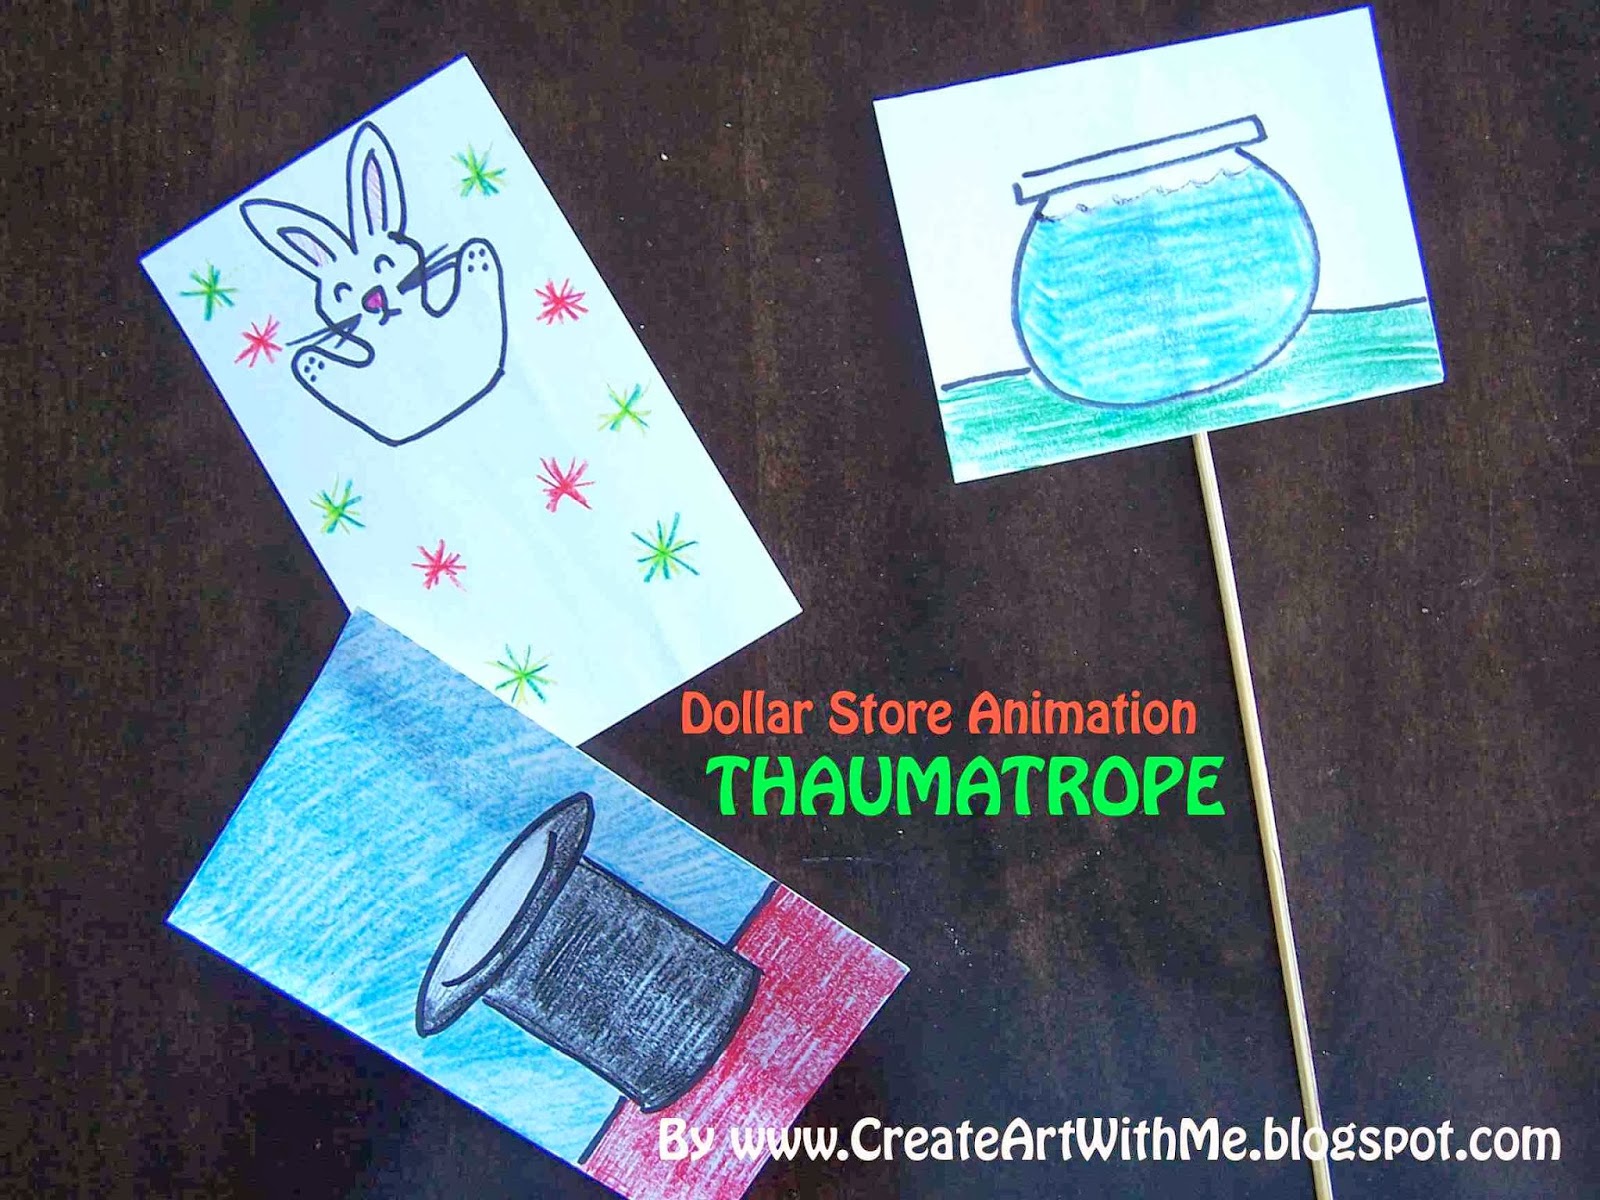

On the left: a magical bunny who pops out of a magician's hat (both sides seen here).
On the right: The goldfish in the fishbowl (only one side shown).

The course was called: Animation, The Old-Fashoined Way--I wanted to start off showing students that they can create little movies from everyday items. I was able to show them all sorts of animation "machines" from the history of animation. We saw still and moving examples of each "machine" and then created our own.

I told the students that this course is mainly a workshop--lots of experimenting going on here! This was a bit different from my other art classes where they may come away with artwork for the fridge--many of the examples they made in animation class are meant to be held, spun, flipped, etc. and since I'm not telling them exactly what to animate (that wouldn't be fun!), they were going to learn-as-they-went, so they may make mistakes.

Class one, we watched a great video by MIT about the history of animation. This video has examples of many of the old-fashioned animation "machines" we were going to be creating!

http://video.mit.edu/watch/history-of-animation-3391/

First, we started off with the Thaumatrope--the easiest animation machine of all (I think).

What is a Thaumatrope?
The Thaumatrope is a great & quick way to illustrate to students the main magic about animation: persistence of vision. Students create two drawings and glue them back-to-back. As they spin the "machine" in their hands, both drawings will seem to appear at the same time.

History of the Thaumatrope:
The Thaumatrope is a simple toy that was used in the Victorian era (about 1824). Traditional examples use a string to spin the cards, but my example below uses a skewer, because I think that works better.

Examples of a Thaumatrope to check out:
The most common example of the Thaumatrope you'll see on the Internet is the goldfish in a fishbowl. I'm sure you can do better than that! But check these out for inspiration:


Make Your Own Thaumatrope!

Supplies Needed:
  • One 4"x6" white index card
  • Clear tape
  • Pencil with eraser
  • Glue Stick
  • One wooden skewer (I've also used plastic drinking straws)
  • Markers
  • Colored pencils and/or crayons
Directions:

1. Fold the index card in half widthwise (hamburger or taco fold).

2. Lightly sketch 2 images (one on each side of the index card) using the pencil. Make sure that your drawings line up when you flip back and forth between them: I had students fold the index card and then hold the card up to the light in a sunny window so they could see both pencil drawings through the paper. Make adjustments as necessary.

3. Outline the finished pencil lines with marker and color the drawings with colored pencil to make them nice and bold. Animations work best if you do your best coloring.

4. Tape the skewer to the center of the inside of the folded index card. Glue the inside of the index card with glue stick and fold the card closed over the skewer to secure (refer to the photos in this post).

5. Roll the stick of the Thaumatrope back and forth in your hands and enjoy!

----------------------

Other posts in the "Dollar Store Animation Class" Series:

• Thaumatrope (you're here!)

• Phenakistoscope

• Zoetrope
• Flip books
• Stop Motion (Part 1)
• Stop Motion (Part 2)
Related Posts Plugin for WordPress, Blogger...