Showing posts with label indian. Show all posts

Monday, December 3, 2012

Story-Telling Animal Pelts

For week three of my Tribal Art of North America after school art class, I thought we'd do a project I saw over at Sleepyhead Design Studio. This is similar to my cave painting project, but easier to do with a larger group (no lacing the piece to a twig frame) and A LOT LESS MESSY! Yee haw!


We followed Sleepyhead's project instructions and prepped our pelts (crumpling and rubbing the paper bag to create a fuzzy, wrinkled texture) and then the children used Sharpies to cover the pelts with symbols (I had printed out some symbol sheets for them to refer to). They were encouraged to create their own symbols, too--I just had them add their symbols to the sheet and label their symbols with the meaning.

When doing a test run at home, my children just placed random symbols all over their pelts, but my students chose to use the symbols to tell a story or talk about the things they like (animals, nature, nice weather, etc.). If I were to create one of these, I think I would talk about when my family and I went camping this summer since many of the symbols on the "Picture Dictionary" sheet could be transferred to a story of a camping trip.

Once the children were done creating the symbols on their pelts, I had them use acrylic craft paints and tiny paintbrushes to add color to their pieces. We used a limited color palette: black, brown, ochre, white and turquoise. My art students argued that green and red could also be made from natural ingredients, so I let them have those too. Sleepyhead used oil pastels to add color in her project--that works well, too (I tried both in my samples). Then we mounted the pelts to a 12" x 18" piece of construction paper using a few staples (probably not authentic) and glued the "Picture Dictionary" page of symbols onto the back of the piece using a glue stick. This way, the children wouldn't have to worry if they forgot the meaning for some of the symbols.

I did this project with children in Kindergarten through grade 4 and they all enjoyed it. It's a keeper!

Soap Carving and a Collaborative Totem Pole

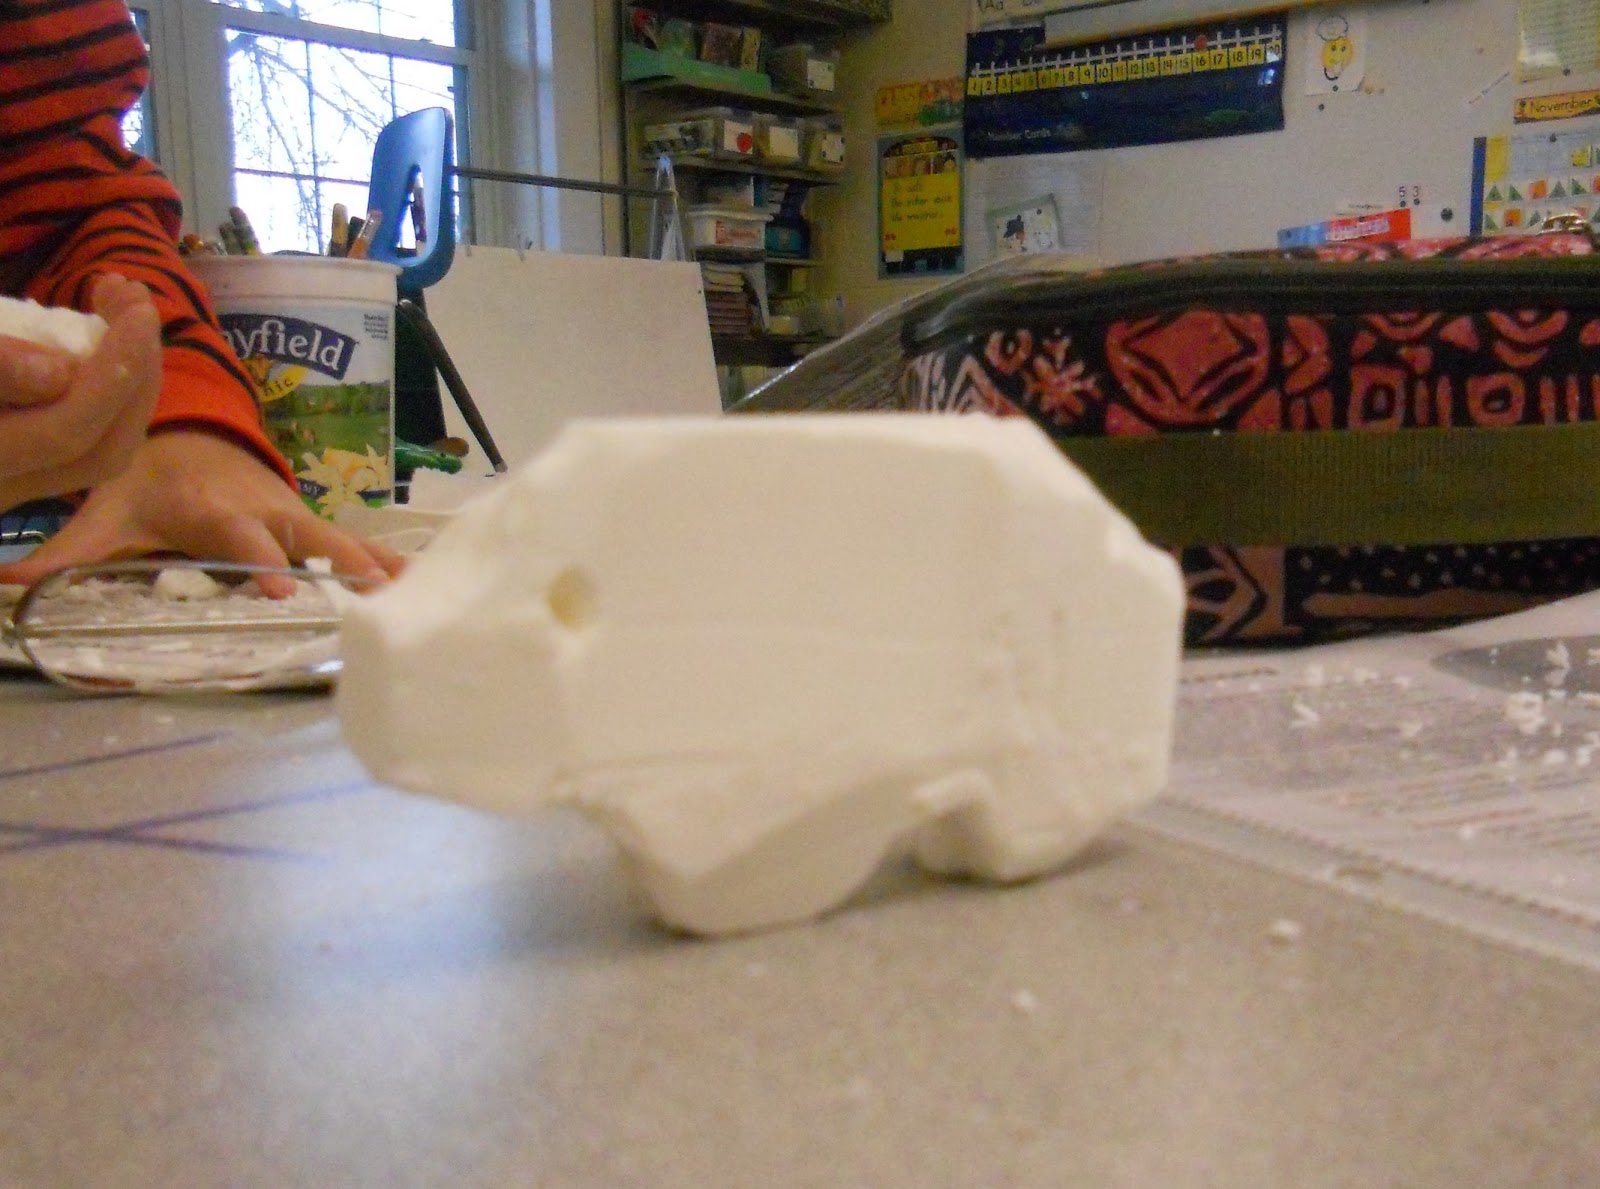
In my Tribal Art of North America class, we were able to do a fun technique that the students always enjoy: soap carving. I've done soap carving with my students before when I taught Inuit carvings (see my original  post here). This time, I thought the children could carve the soap and work together to make a totem pole.


The completed Totem Pole--each of the students
created a section (one animal). I placed them on
a background that looked like sky just to snap the picture.

I found a great handout online about totem poles. It gave some background information as well as great images of some typical animals that appear on totem poles along with a description about the symbolism of each animal. The children chose one of the animals to replicate in soap and began carving with their tools: a vegetable peeler, plastic spoon and a toothpick. Features such as beaks, tongues and wings that protruded far away from the main carving were added later using craft foam. I had a sheet of white craft foam on hand for these "extras," but encouraged the children to do most of their carving in the soap.

Detail of the BEAR (symbol of power on the earth).
The tongue is made with a bit of craft foam.

Once the children were done carving their individual totem animals, we put them together into one totem pole and I snapped a picture. The children took their individual pieces of the totem pole home, but before they left, they had enough time to create a second carving of their choosing that was more like the Inuit. We had a great discussion of how different their two sculptures were: the totem was more of a shallow carving meant to be viewed from a very limited radius, but the Inuit-inspired carving was meant to be held and seen from all angles. The carving was much more intense on the Inuit piece in that they had to think about removing the excess and accurately carving their animal on a variety of planes.

And here's one of the Inuit carvings: a polar bear.
These soap carvings are hard to take pictures of
with my camera--sorry they are blurry!
The children did a great job! ENJOY!


Thursday, December 1, 2011

Story Totem Poles

The last time I taught an art class about totem poles I had the children create family totem poles. They could bring in pictures of their family members or draw them. They came out great and the children were very happy with them. While looking online for totem pole images, I came across an idea that got me thinking a bit: Story Totem Poles from Art Smarts 4 Kids. She used a simple story, Goldilocks and the Three Bears, and had the children illustrate the characters and plot on a totem pole.

In this piece, the student shows the Old Man with his cloak, and then attached the Old Man and Rock with the same fastener so that he could show 1. the rock on top of the fallen Old Man and 2. the rock cracking in two. The Night Hawk is on a tab so that it moves down the Totem pole and can touch the rock (and crack it in two) as in the story.
So clever!

I decided to have the children illustrate a Native American tale and I found a few great ones at Apples 4 The Teacher. I chose "Why The Night Hawk Has Beautiful Wings." Besides having a couple of moral lessons, it is also a funny story and has great visuals for the children to explore. Here's the tale.


Supplies Needed:

  • Paper towel roll
  • Construction paper (I used green, brown and white)
  • Markers/Colored Pencils/Crayons
  • Scissors
  • Glue stick
  • Clear tape
  • Wing template, optional
  • Brass fasteners, optional
  • Images of totem pole figures and a picture of a Night Hawk for reference, optional
Directions:

1. Read the story to the students. Once I was finished, we discussed characters and plot. I then gave a brief discussion on totem pole art, highlighting some of the features they may want to include in their totem pole designs (3D wings, etc).

2. I gave each student a 6 1/2" x 12" piece of construction paper (green) to use as a base for their artwork. The children then divided it into about 5 horizontal sections (change this based on how many characters and plot points you want to show). I instructed the students to work directly on or attach their work on this piece of paper--flat on the table--and then when it was done, they could glue it to the tube.

The children could draw right on the background paper, or could illustrate their characters on a half sheet of white construction paper, cut them out and glue them to the background paper. I also gave them a half sheet of brown to use for the Night Hawk and/or the stone from the story, if they wanted. 

I also showed them how they could add motion to their totem poles (not really traditional, but fun!), by attaching characters to the background paper with brass fasteners (you know, the ones that allow things to spin. See the pictures for reference). I showed them how they could attach a picture of a stone with a brass fastener to make it roll, a key point in the "Night Hawk" story. They loved that idea and many of them took the mechanical aspect of the project even further (see photos).

3. Once the characters and images of plot points are completely colored in, cut them out and attach them to the background paper with glue. Work the story from the bottom of the totem pole up (that is more traditional). Attach any pieces that require the brass fasteners to the background NOW (before you glue the paper to the background). Wings and other 3D elements are added later, in step 5.

4. Once all of the pieces are on the background, turn the entire thing over and spread glue on the back (we used a glue stick, but white school glue would work). Roll it around the paper towel roll and secure with a couple pieces of clear tape, if needed.

5. Add any 3D elements such as wings or a beak using the glue stick.

Done! Enjoy watching your child retell the story using his or her Story Totem Pole!


Related Posts Plugin for WordPress, Blogger...